
As an Amazon Associate, I earn from qualifying purchases.
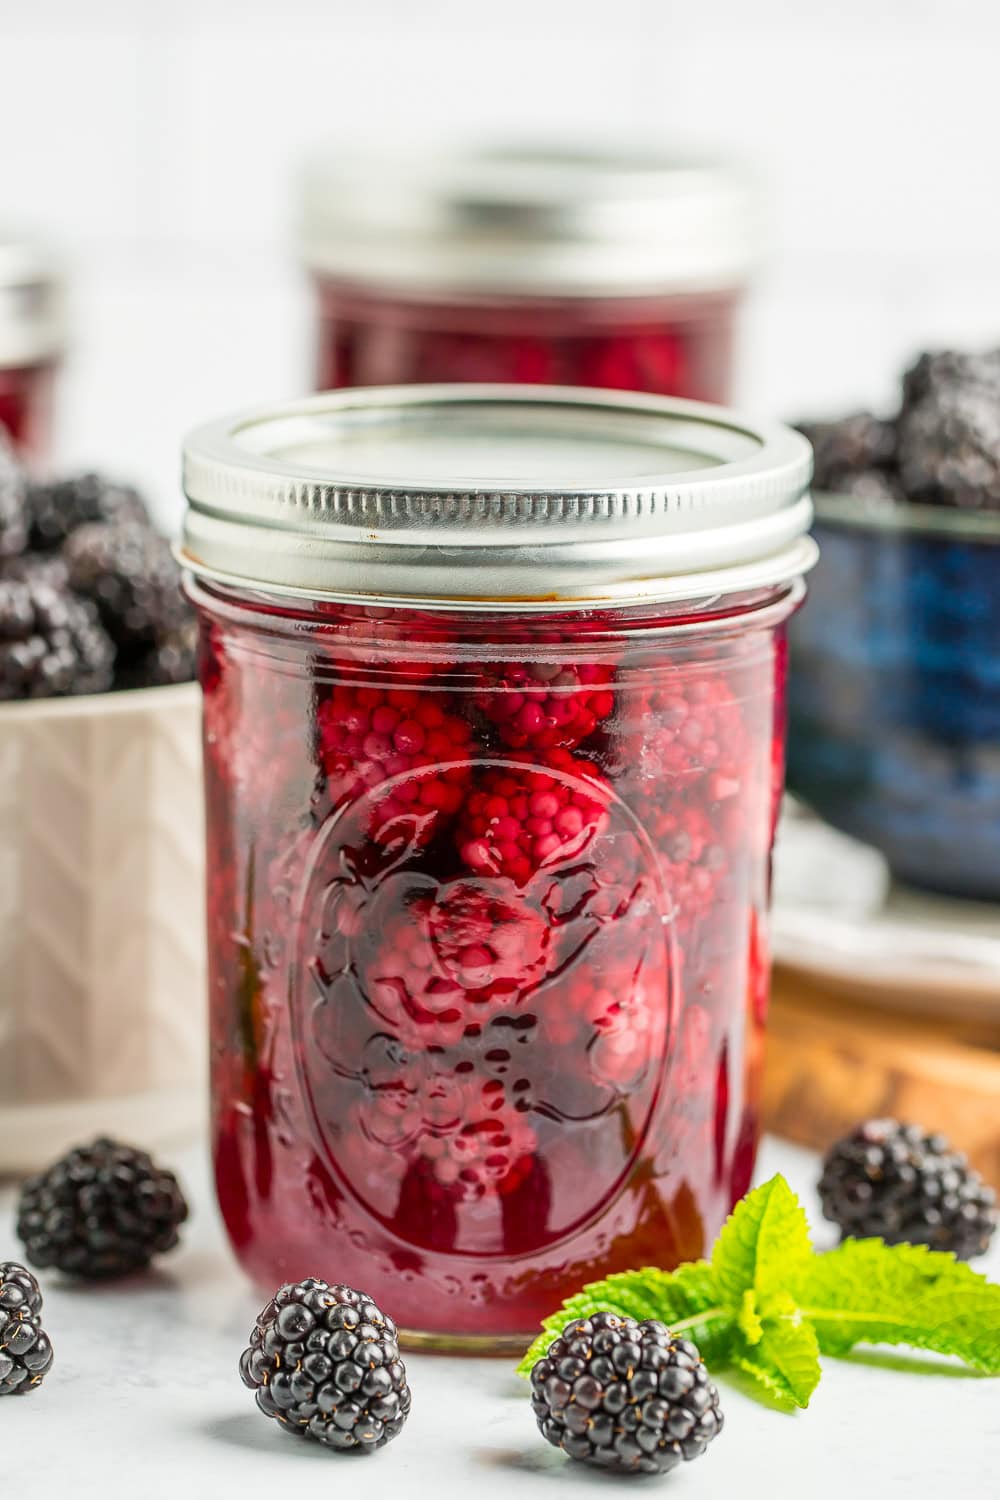
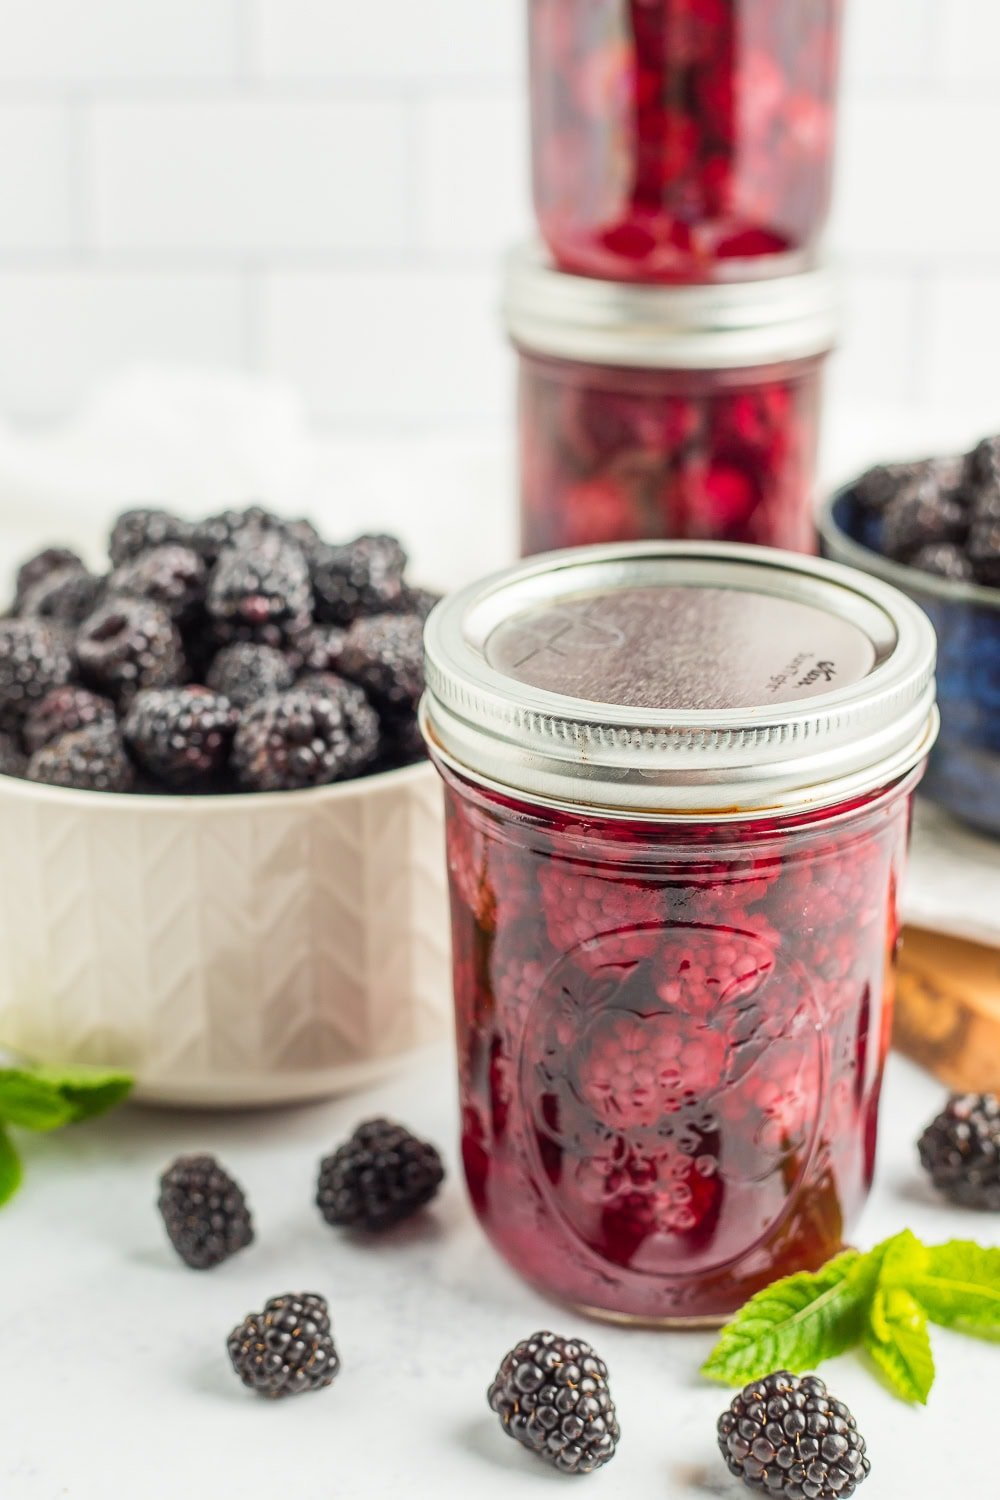
You’ll love this easy step-by-step tutorial on canning blackberries. This recipe for how to can blackberries is perfect for beginners and experienced canners alike. These home-canned blackberries are like jars of summer and sunshine.
Eating fresh blackberries still warm from the garden (or in Washington State, it’s more like freshly picked from the side of the road…) is a top-tier summer experience.
But it’s hard to argue with the joy of opening a jar of canned blackberries in the dead of winter. Tasty summer produce certainly helps make “The Big Dark” more bearable.
The good news is that canning blackberries is super simple to do, even if you’re a newbie. I’m here with you every step of the way. Let’s get started!
Just a heads up – while still delicious once they’re canned, blackberries tend to lose color over time. And given their post-canning texture, they’re not ideal for “fresh eating”, but instead, they’d be absolute perfection in our blackberry and apple crumble or blackberry compote.
How to Can Blackberries
First up, prepare your water bath canner by filling it with water. You need to have enough water to cover the jars by 1 inch once the water is boiling.
Set the canner on the stove. Turn the burner to high. Once it reaches a boil, reduce it to a simmer. You want to keep the water hot so that everything is ready when the fruit is.
Wash and clean your jars. You’ll want to keep them warm to avoid having them crack when placed in the canner. You can fill them with hot water or place them on a tray in the oven at 170˚F.
Wash your lids and set them aside in a clean place. You no longer need to simmer lids in water to keep them sterile. Woot!
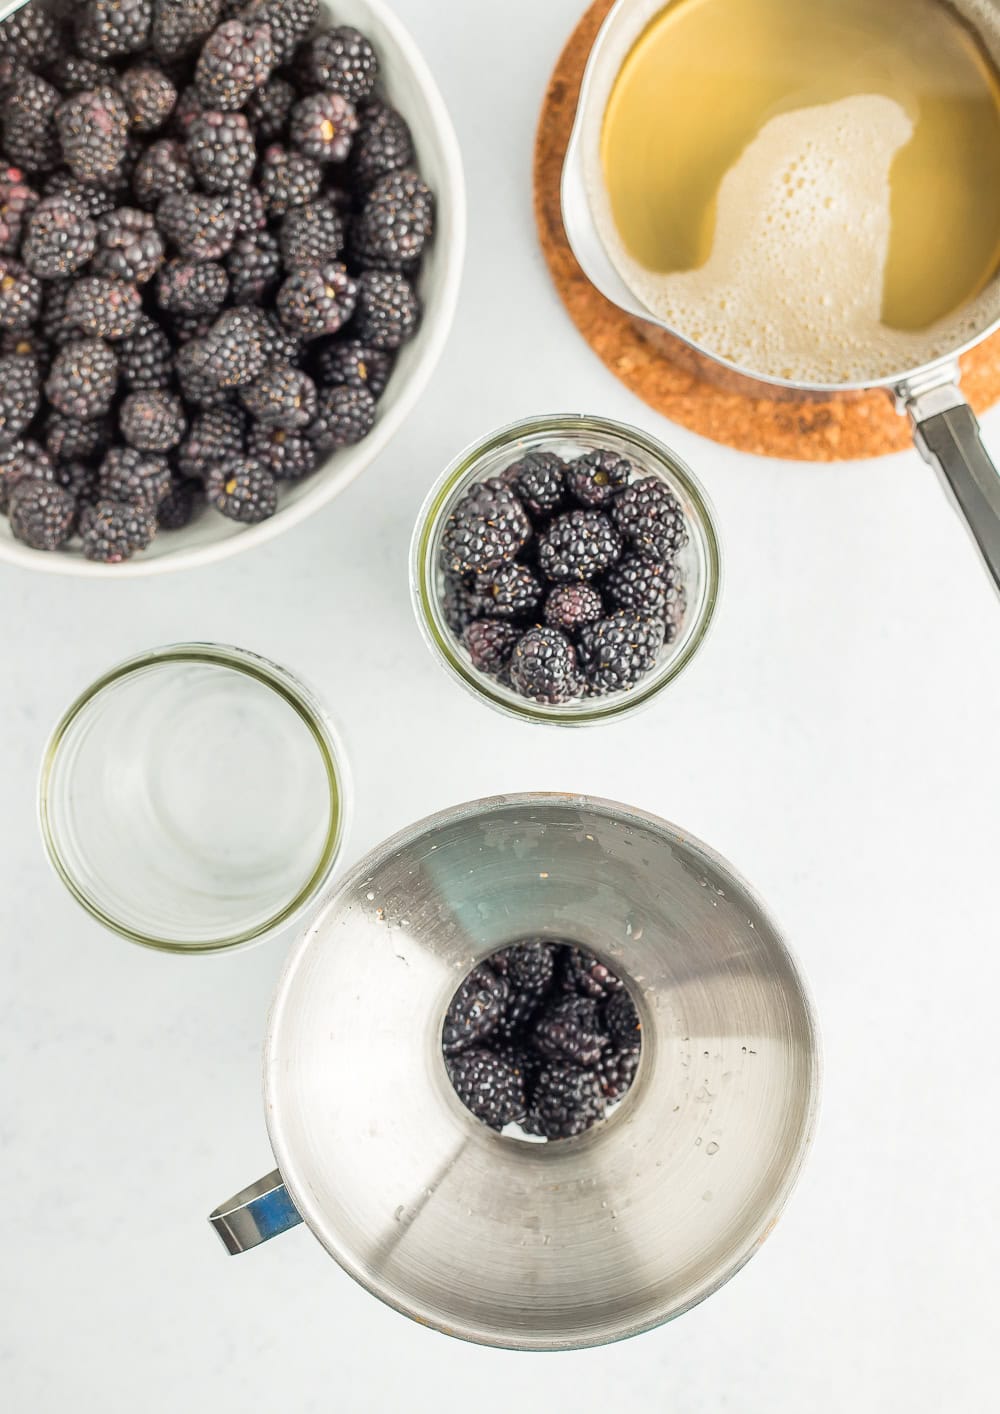
Give those gorgeous blackberries a nice little rinse and let them sit for a bit in a strainer.
Next up, let’s decide what liquid you want to use for canning your blackberries. You can use a sugar syrup, plain water, or juice. Check out the chart below to figure out what might work best for you.
Syrups for Canning
| Syrups for Canning | ||||
| Type of Syrup | Sweetener | Amount of Sweetener | Water | Yield |
| Very light | Sugar | 1 cup | 6 cups | 5 3/4 cups |
| Light | Sugar | 2 1/4 cups | 5 1/4 cups | 6 1/2 cups |
| Medium | Sugar | 3 1/4 cups | 5 cups | 7 cups |
| Heavy | Sugar | 4 cups | 5 cups | 7 cups |
| Honey | Honey | 1 cup | 4 cups | 4 1/4 cups |
| Juice | Apple or white juice concentrate | 1 1/2 cups | 4 1/2 cups | 6 cups |
| *Source: National Center For Home Food Preservation | ||||
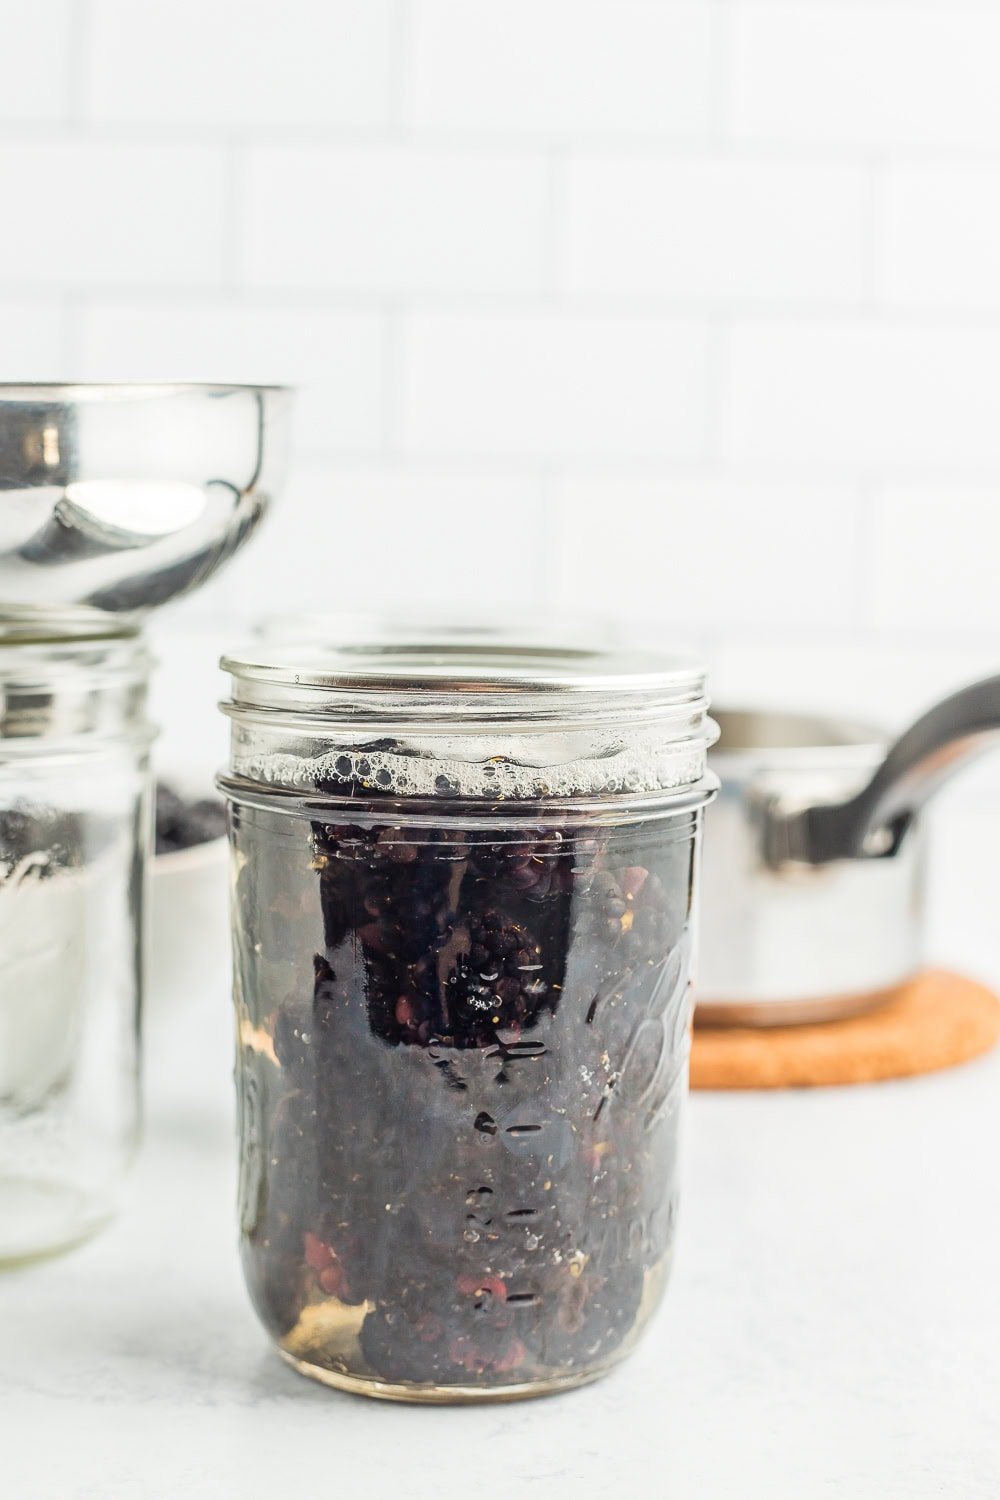
My preference is to use a light syrup for my blackberries. You’ll see that in the photos below.
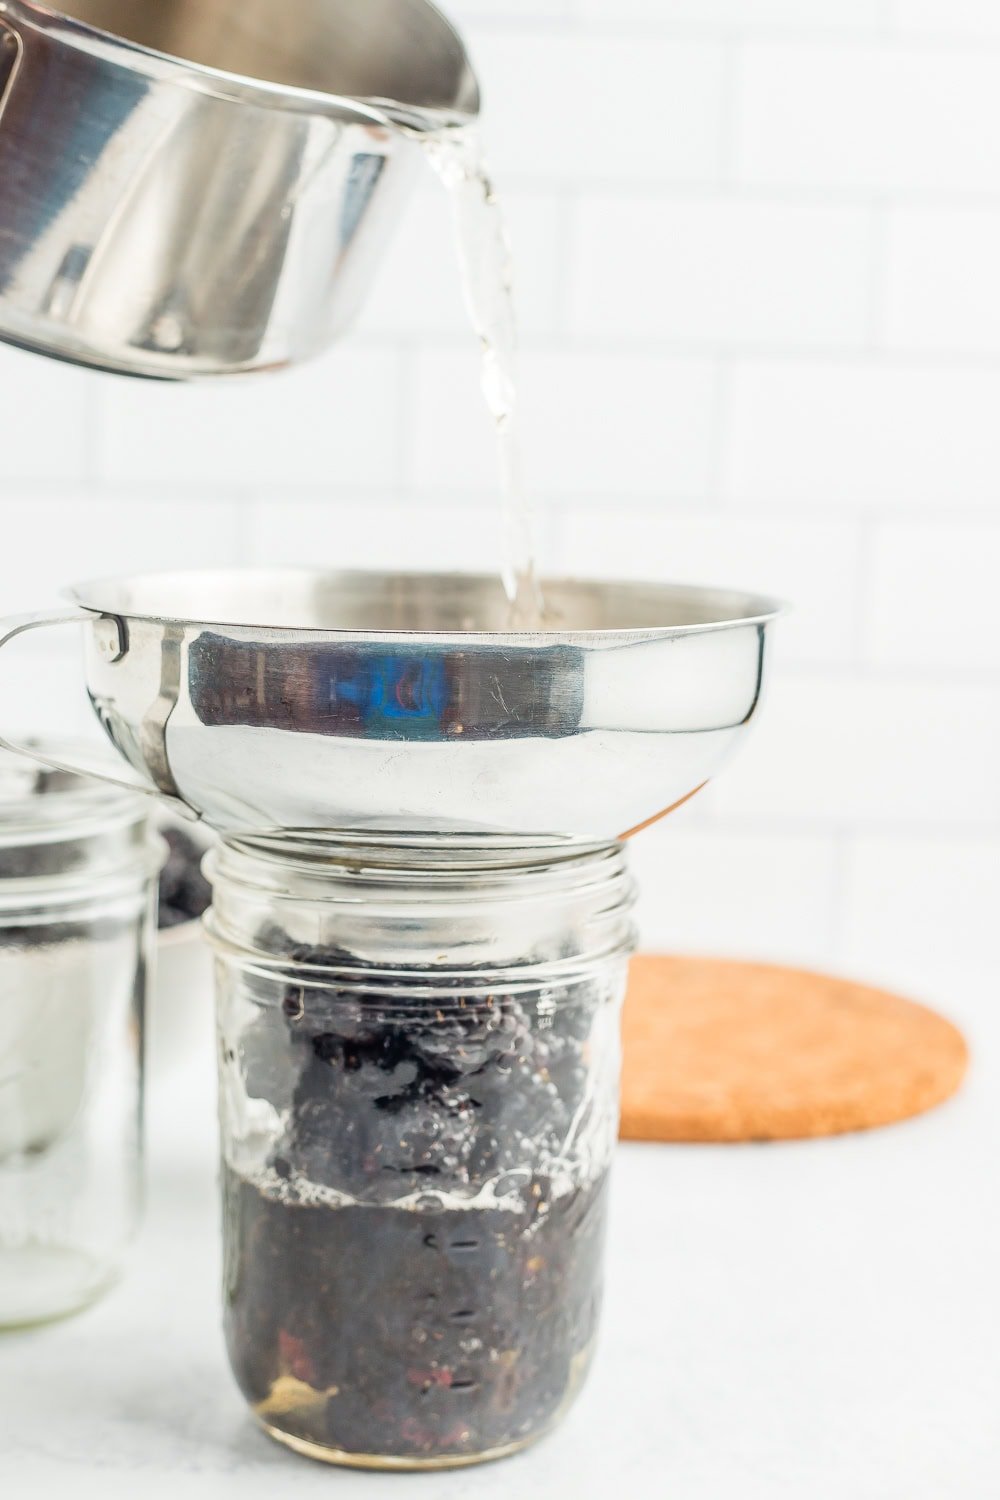
Place a canning funnel on top of one of the jars and fill with blackberries, gently tapping the bottom of the jar on the counter to help them settle. Carefully pour in your syrup/water/juice into the jars, leaving 1/2 inch of headspace.
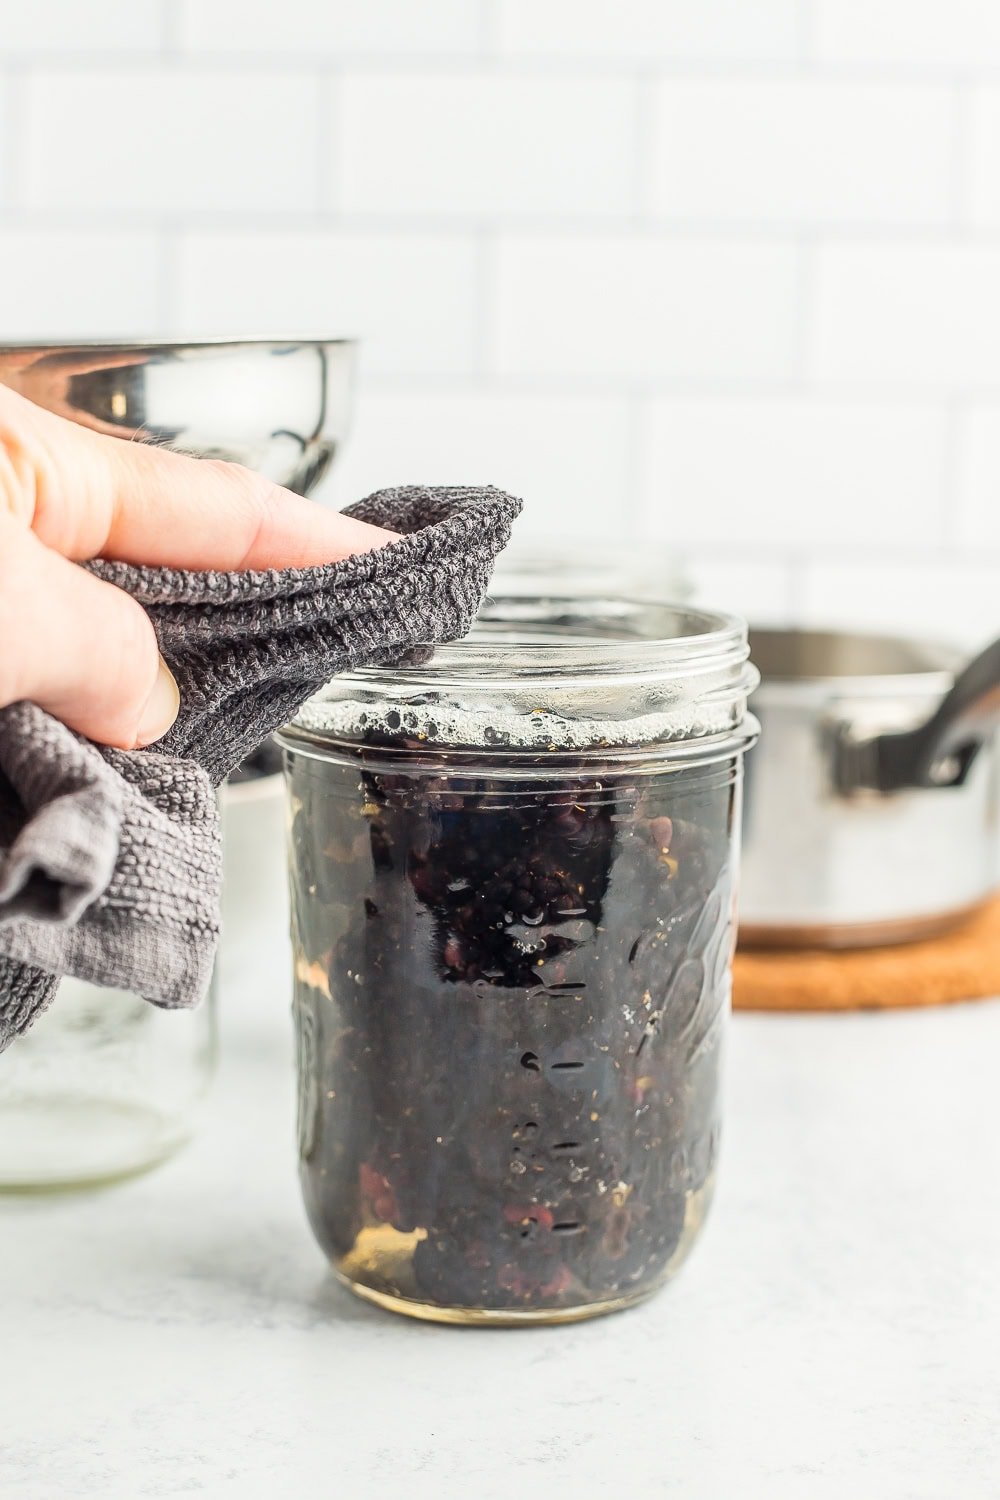
Remove any bubbles from the jar (I use a plastic chopstick). Use a wet clean rag and wipe the rim of the jars to make sure they are free of any syrup or blackberries.
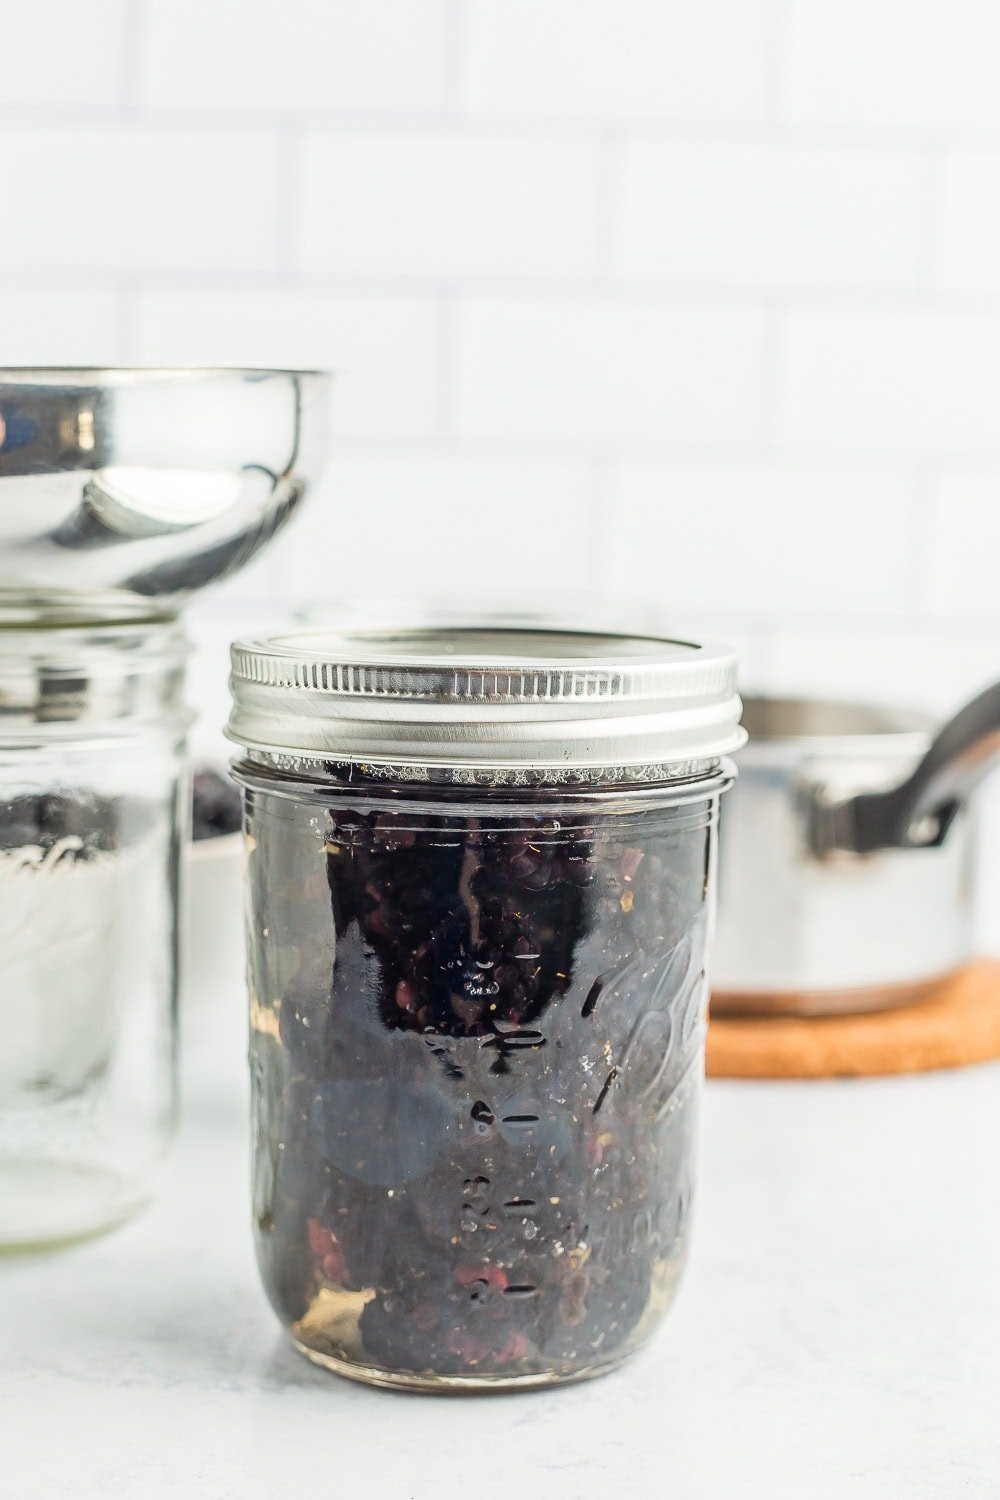
Place a clean lid on the jar and then a ring. Tighten the ring to fingertip tight.
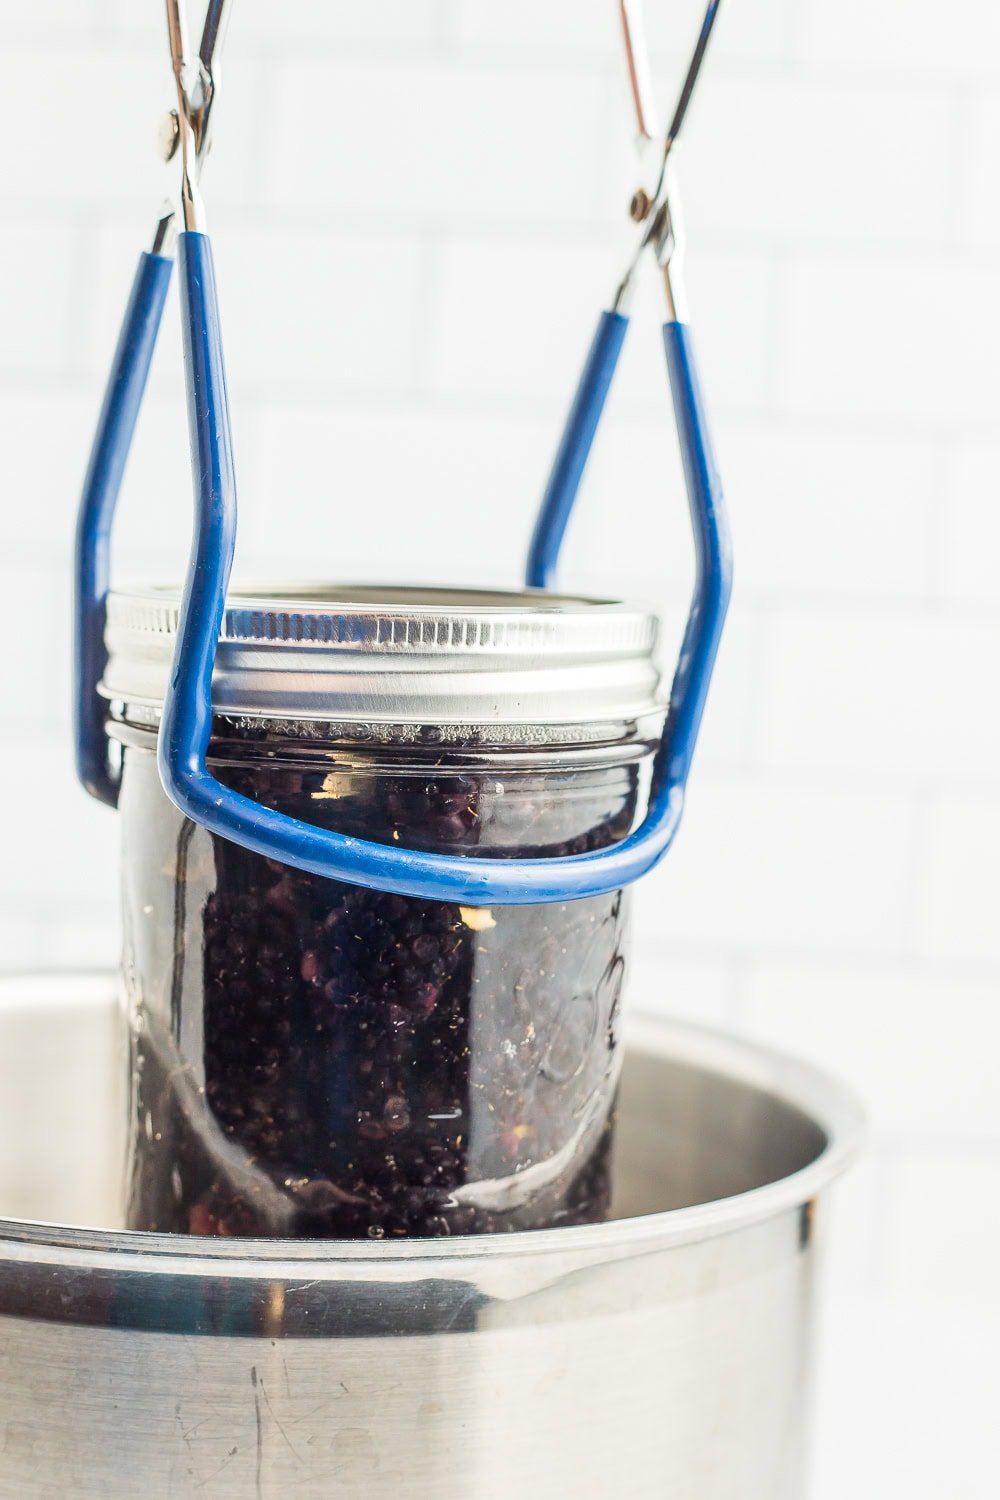
Using canning tongs, add your jars to the boiling water, and put the canner lid on. Pro tip: you must have at least 1 inch of water over the tops of the jars for safe canning. Processing times will vary based on altitude. See the chart below.
Processing Time for Blackberries
| Processing Time for Blackberries | |||||
| Process Times at Altitudes of: | |||||
| Style of Pack | Jar Size | 0-1,000 ft | 1,001-3,000 ft | 3,001-6,000 ft | Aove 6,000 ft |
| Hot | Pints | 15 min | 20 min | 20 min | 25 min |
| Quarts | 20 min | 25 min | 30 min | 35 min | |
| *Source: National Center For Home Food Preservation | |||||
Once the blackberries have processed for the appropriate amount of time, remove the canner from the burner, and carefully remove the lid of the canner (Pro tip: use oven mitts to take the lid off because the steam is super hot).
Using canning tongs, carefully remove the jars and place them on a thick towel in a place where they can be undisturbed for 12 hours.
After the jars have rested for about 12 hours, press down in the middle of each lid. If it “gives” at all, the jar didn’t seal. Either enjoy it that day, put it in the fridge, or reprocess it using a NEW lid.
And if at the end of the day you decide that canning blackberries is just not for you (no shade), check out our tutorial on how to freeze blackberries.
Prevent your screen from going dark
Canning Prep
-
Prepare your water bath canner by filling it with water. You just need to have enough water to cover the jars by 1 inch once the water is boiling.
water for canner
-
Set the canner on the stove. Turn the burner to high. Once it reaches a boil, reduce it to a simmer.
-
Wash and sanitize your jars. You’ll want to keep them warm to avoid having them crack when placed in the canner. You can fill them with hot water, or place them on a tray in the oven at 170˚F.
-
Wash your lids and set them aside in a clean place.
Canning Blackberries
-
Rinse the blackberries and remove any leaves, stems, and debris.
9 lbs blackberries
-
(Optional) create a syrup by combining sugar and water in a saucepan and heating it over medium heat until the sugar has dissolved.If you aren’t using a syrup, bring water to a boil in a saucepan and set aside.
1 cup sugar, 6 cups water
-
lace a canning funnel on top of one of the jars and fill with blackberries, gently tapping the bottom of the jar on the counter to help them settle.
-
Carefully pour in your syrup/water/juice into the jars, leaving 1/2 inch of headspace. Headspace is defined as the space between the top of the food and the top of the jar.
-
Remove any bubbles from the jar (I use a plastic chopstick).
-
Use a wet clean rag and wipe the rim of the jars to make sure they are free of any syrup or blackberries.
-
Place a clean lid on the jar and then a ring. Tighten the ring to fingertip tight.
-
Using canning tongs, gently place your jars in the canner. Put the lid on, and set your timer. Pro tip: the water must return to a boil in the canner before you can start the timer.
-
Process pints and quarts based on the elevation guide below:*0-1,000 ft – Pints =15 min Quarts =20 min*1,001-3,000 ft – Pints =20 min Quarts =25 min*3,001-6,000 ft – Pints =20 min Quarts =30 min*6,000 ft+ – Pints =25 min Quarts =35 min
Quantity: An average of 12 pounds is needed per canner load of 7 quarts; an average of 8 pounds is needed per canner load of 9 pints. A 24-quart crate weighs 36 pounds and yields 18 to 24 quarts – an average of 1¾ pounds per quart.