
As an Amazon Associate, I earn from qualifying purchases.
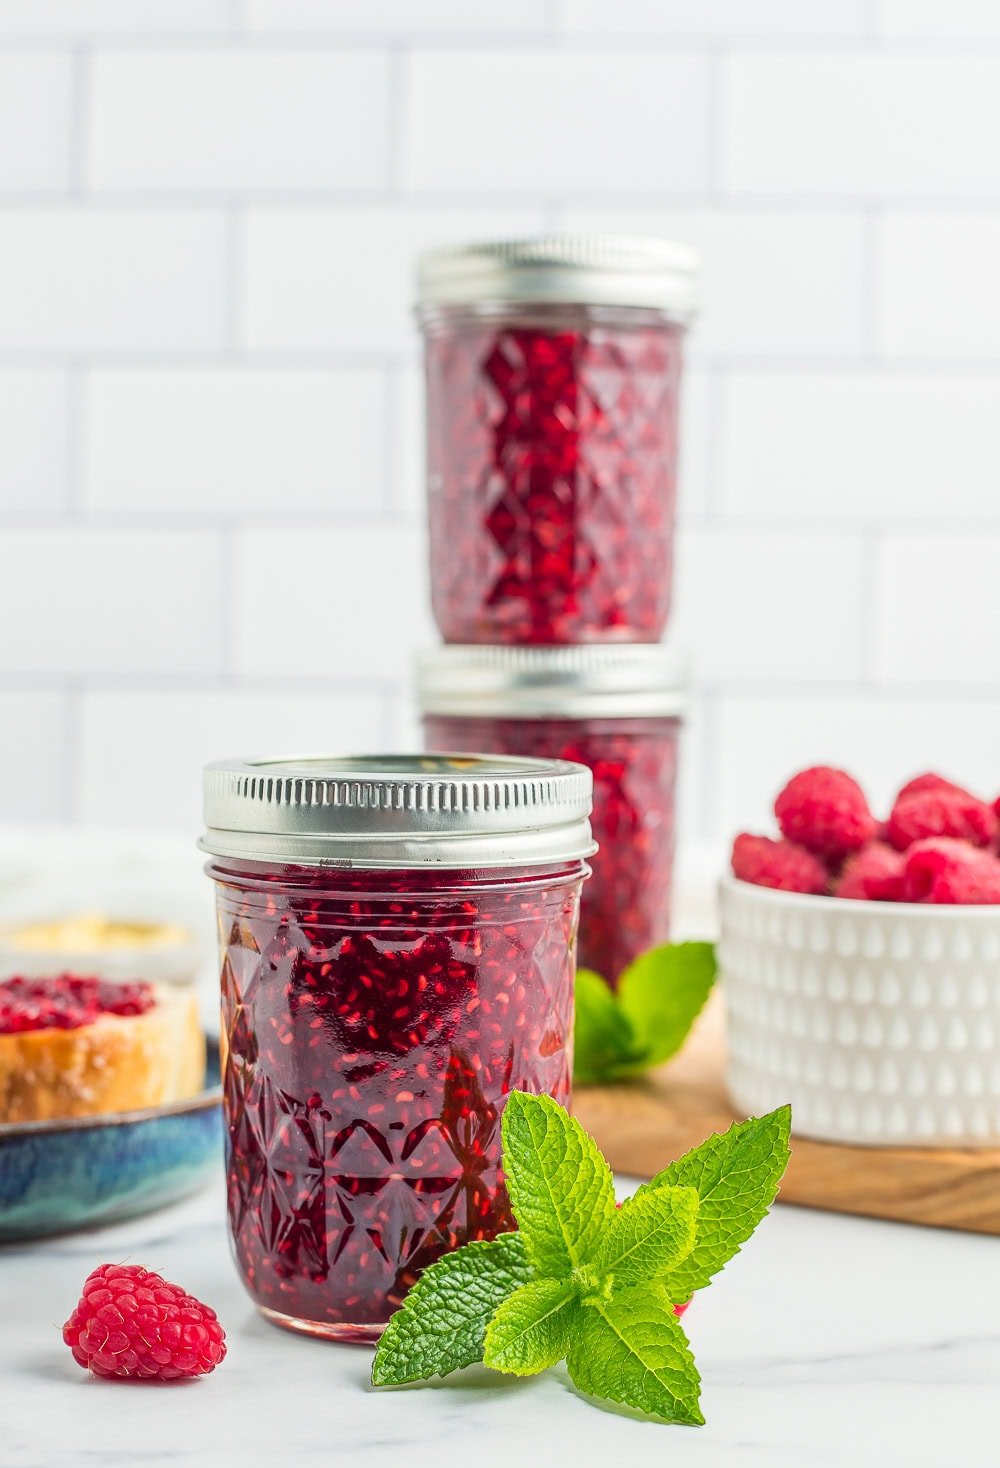
This homemade raspberry jam is a delicious, low-sugar, and fresh-tasting fruit spread, all without pectin. Canning homemade raspberry jam is an amazing way to preserve the harvest and is a treat for the whole family.
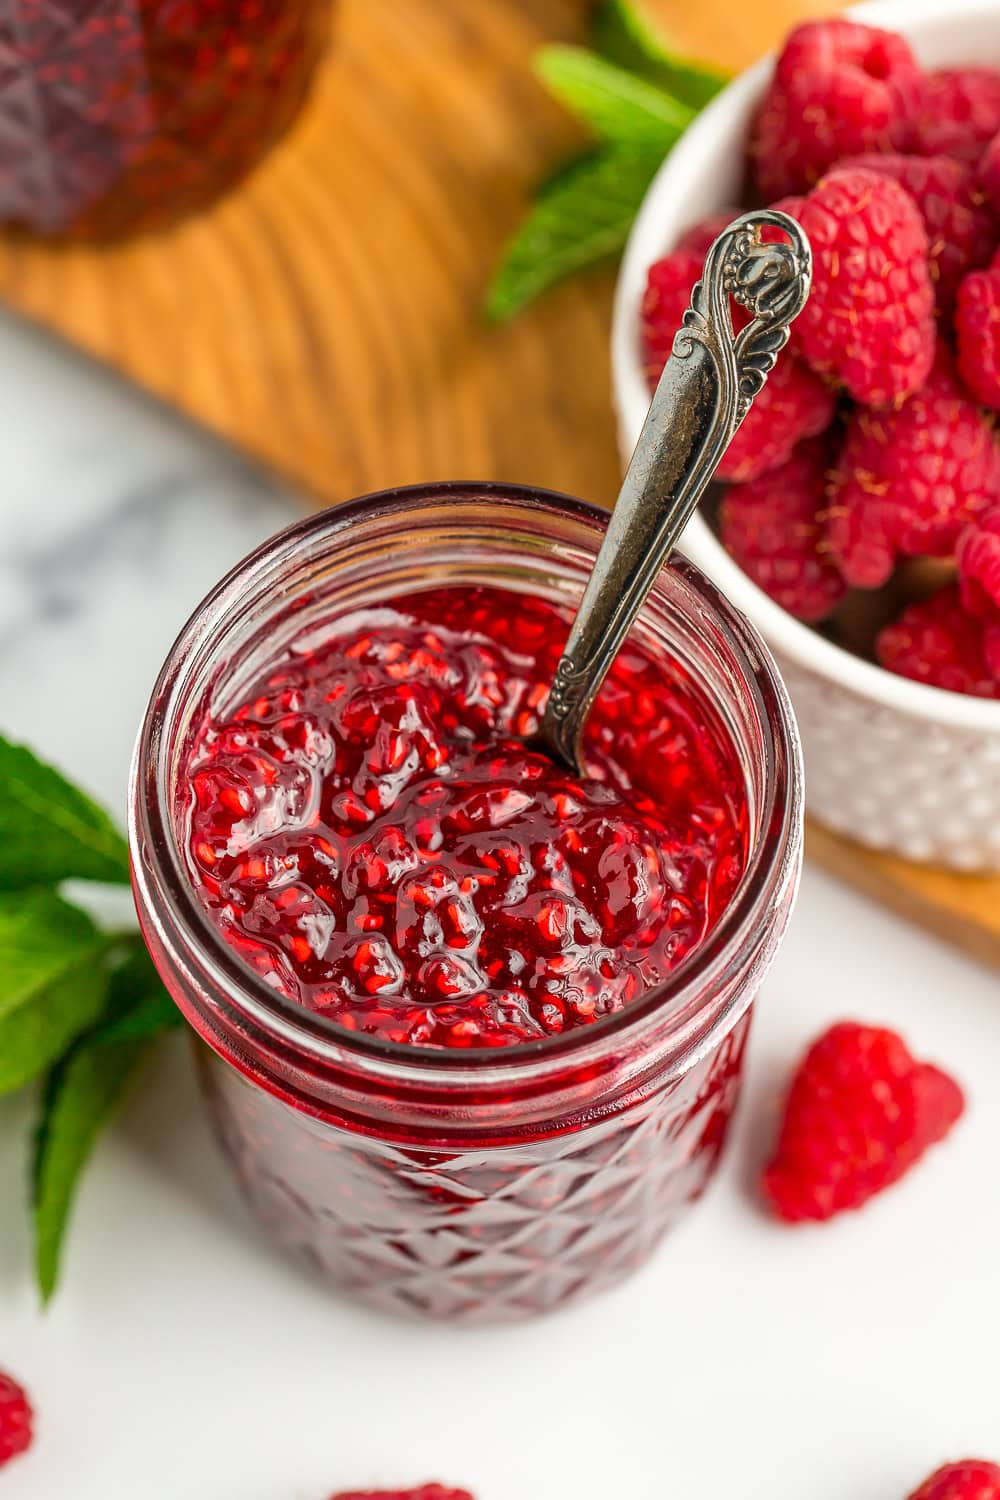
This old-fashioned raspberry jam recipe is exactly how homemade jam should taste – not too sweet and tasting of summer and sunshine.
And unlike common raspberry jam recipes, it’s made without pectin, and it tastes like fresh berries, not pure sugar.
And if you decide in the end that you’d prefer a no-canning or no-cook jam, check out our raspberry freezer jam recipe. It’s wicked easy and absolutely delicious.
How to Make and Can Raspberry Jam
*I’ll walk you through it here with some photos and tips, and you’ll also find a printable recipe card at the bottom of the post with exact measurements, etc. You can also click “jump to recipe” to skip down.
Canning Prep
Prepare your water bath canner by filling it with water, and setting it on the stove. Turn the burner to high. Once it reaches a boil, reduce it to simmer. You want to keep the water hot so that everything is ready when the jam is.
Wash and sanitize your jars. You’ll want to keep them warm to avoid having them crack when placed in the canner. You can fill them with hot water, or place them on a tray in the oven at 170˚F.
Wash your lids and set them aside in a clean place. You no longer need to simmer lids in water to keep them sterile. Woot!
Place 2-3 metal spoons in the freezer.
Making Raspberry Jam
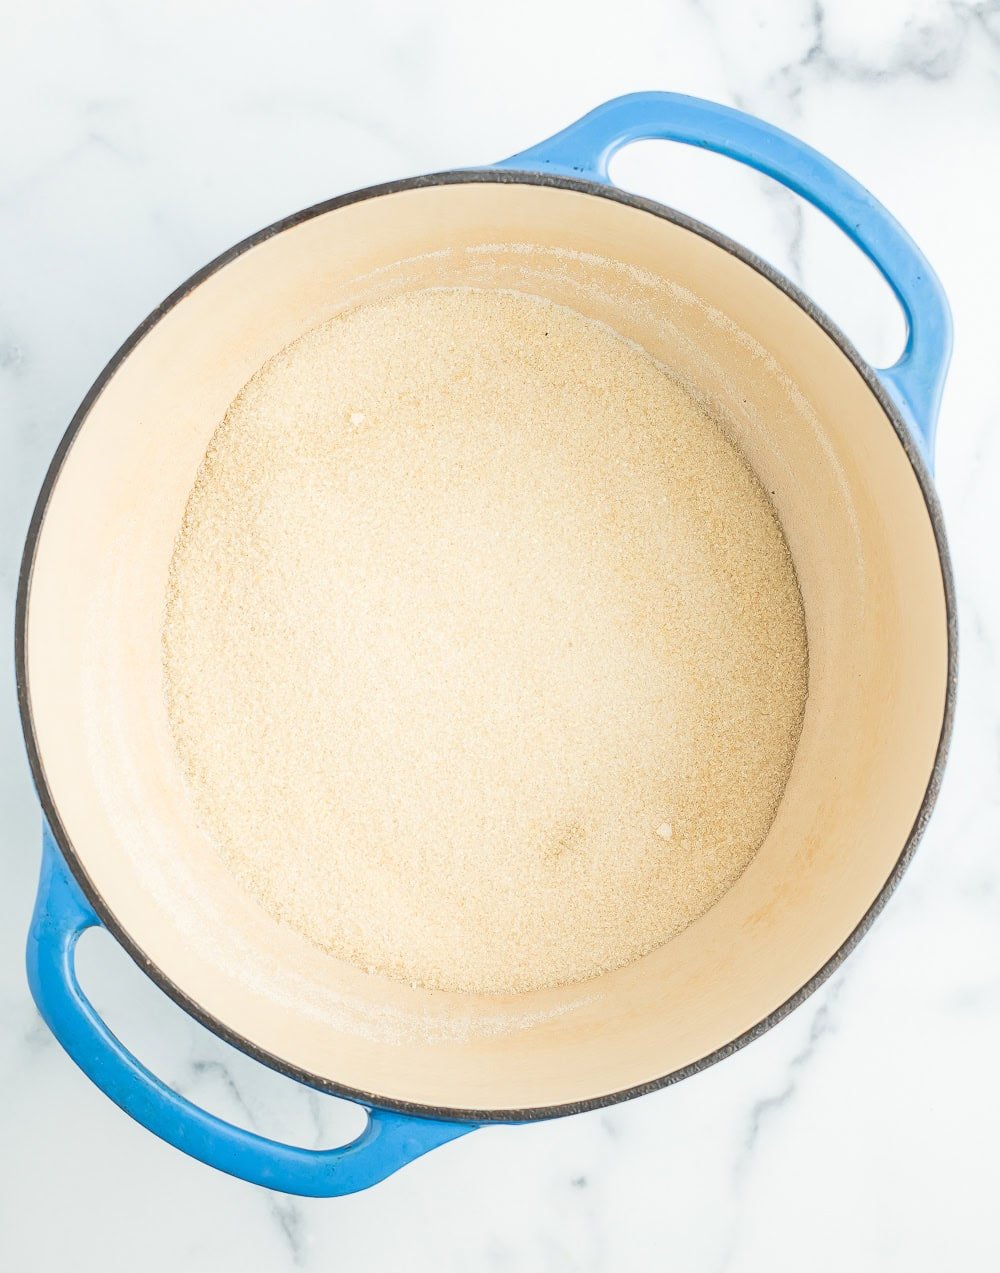
Heat a heavy-bottomed saucepan on the stove on medium. Add the sugar and stir it occasionally for 10 minutes.
This step warms the sugar and makes sure that it doesn’t crystallize when the raspberries are added, instead of fully dissolving. As a bonus, this step also adds caramel notes to the finished jam. You can skip this step, but I love how it makes the jam taste.
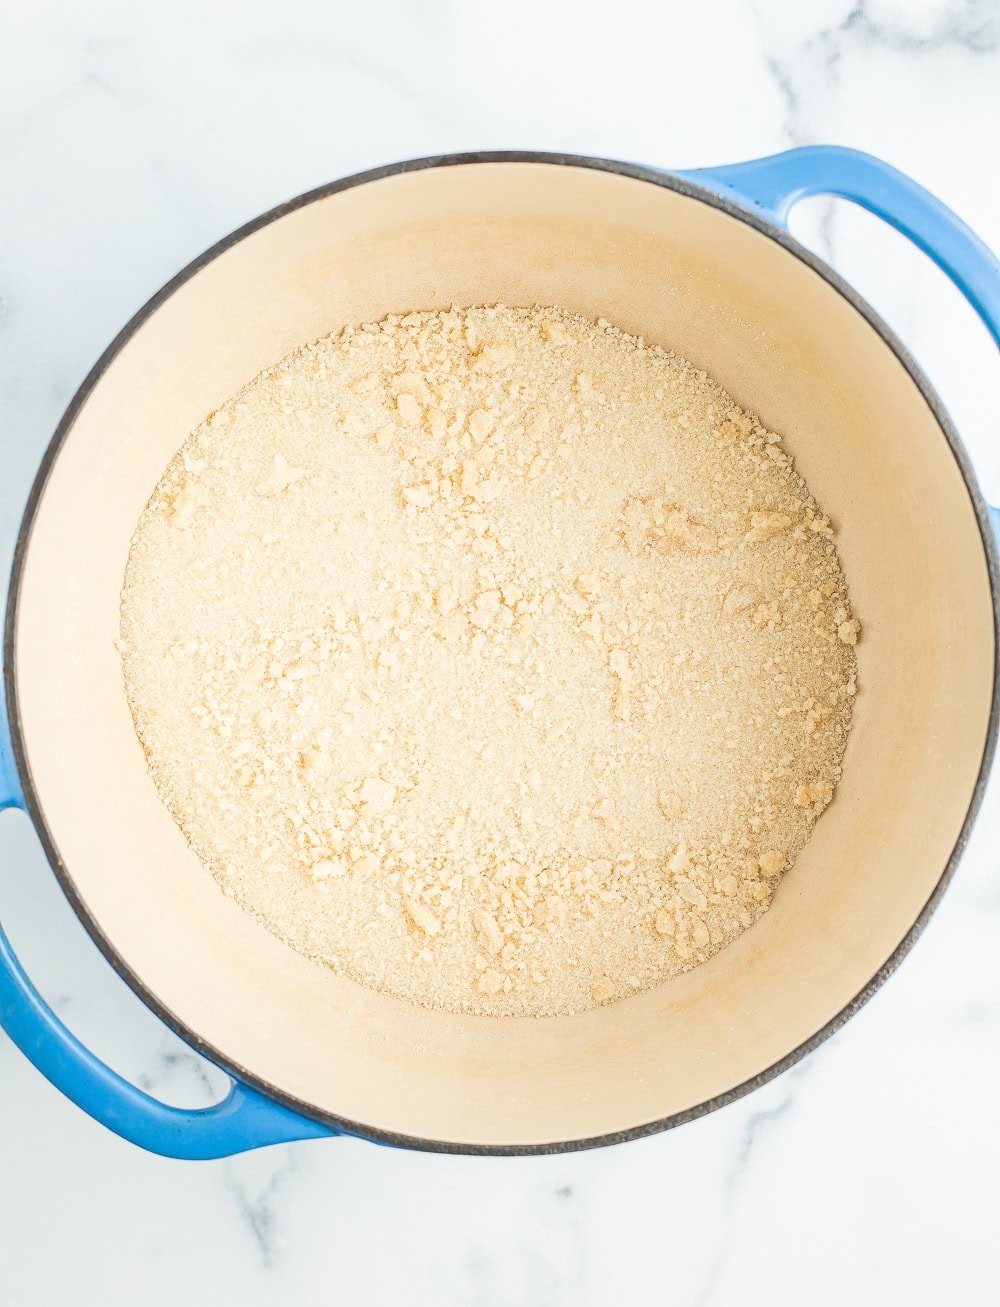
Once the sugar is starting to clump up a bit, add the raspberries and stir to coat the berries in the sugar.
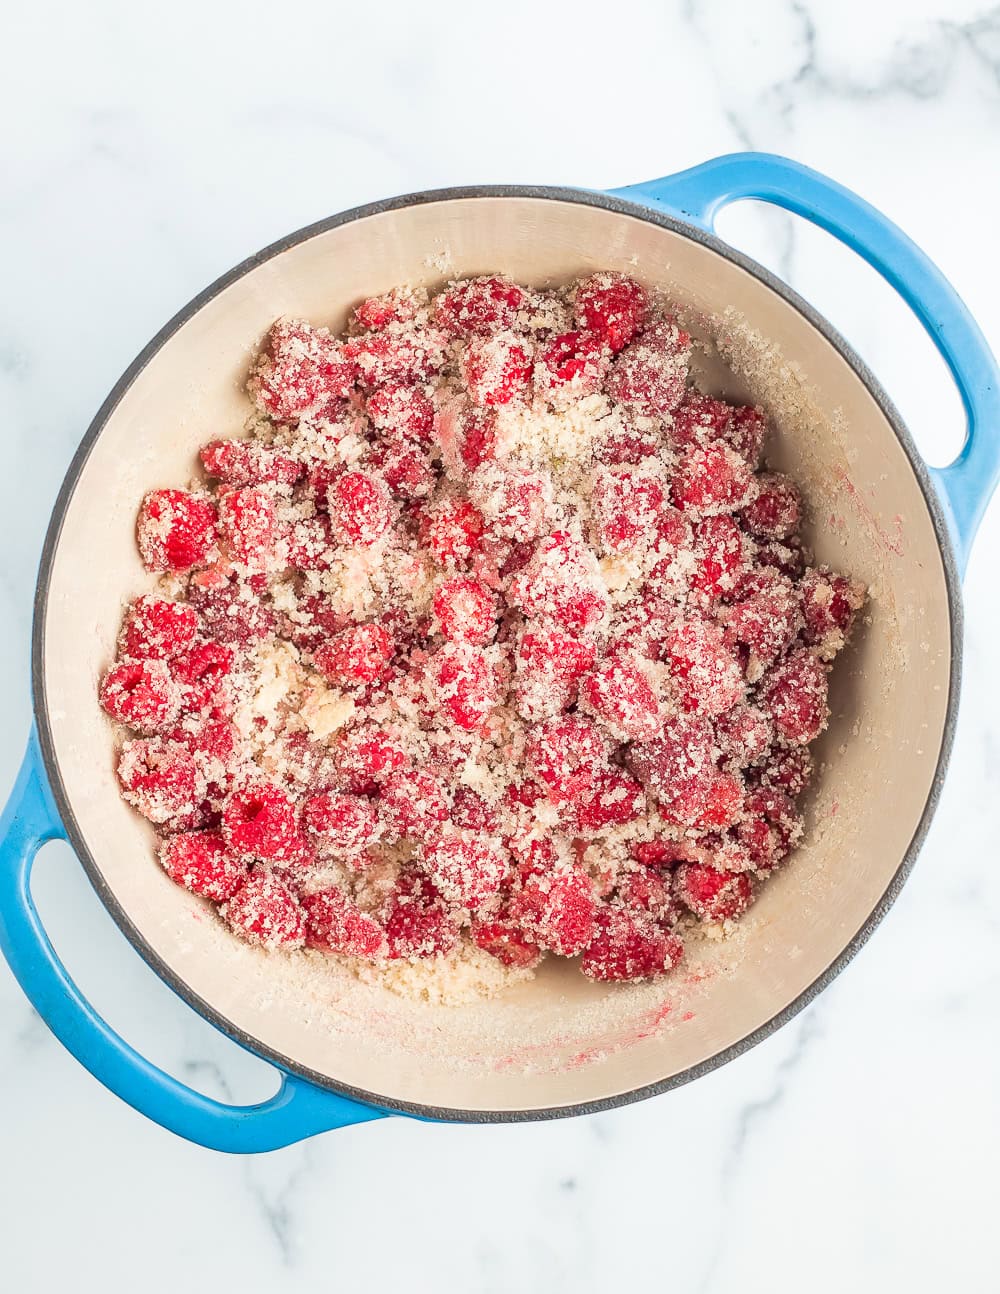
Gently mash the raspberries with a wooden spoon, potato masher, or a pastry cutter. The final texture is up to you, so mash or don’t mash to your heart’s content.
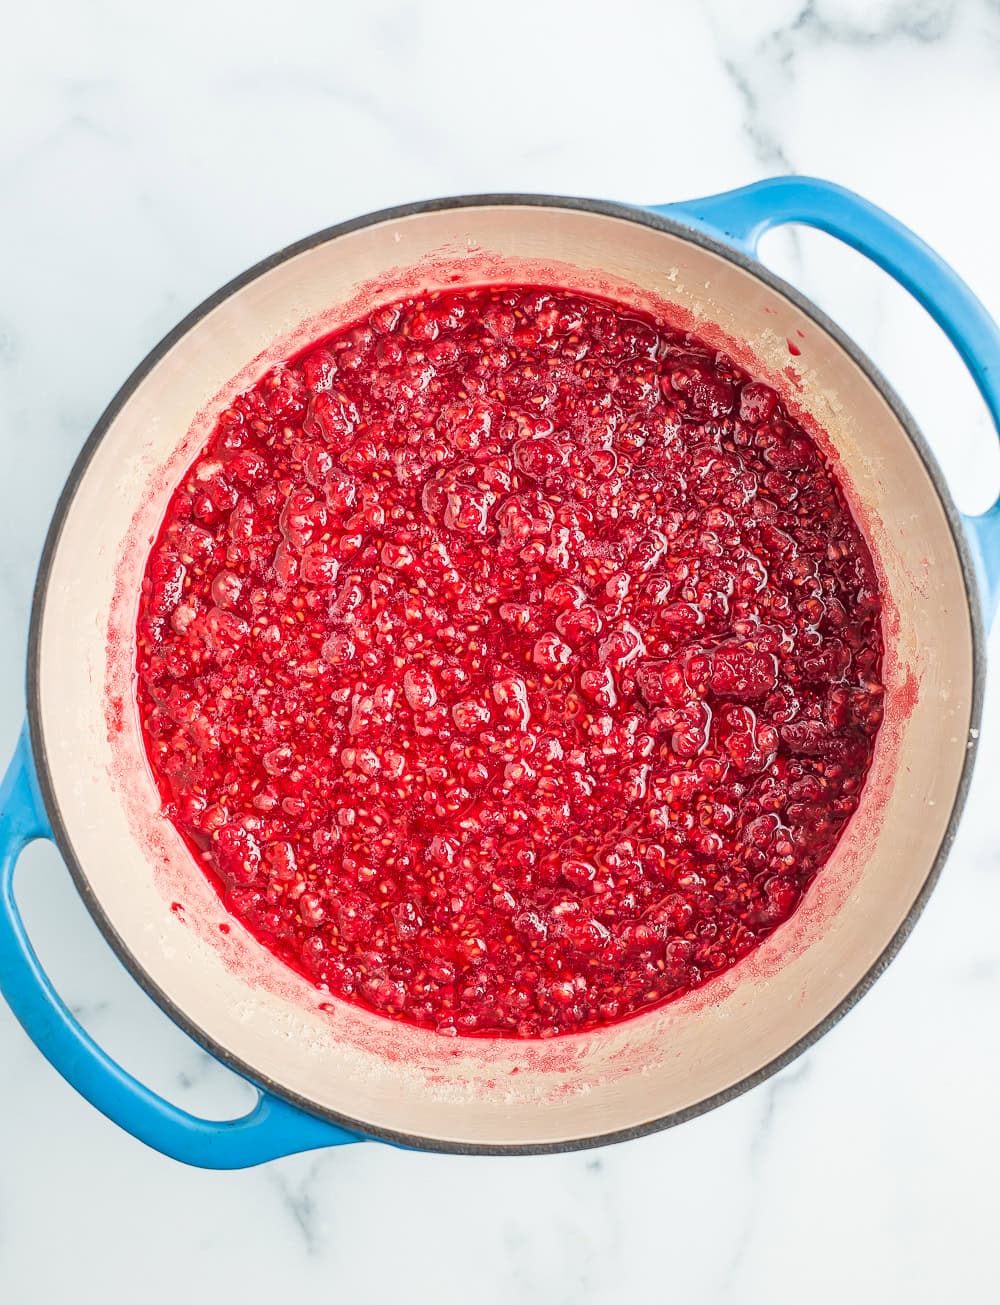
Increase the temperature to medium-high and stir until all the sugar is dissolved (~5 minutes). If you want to make sure the sugar is fully dissolved, dip a small spoon into it and take a taste. If the sugar is “crunchy”, go ahead and cook the mixture a bit longer.
Add the lemon juice to the pot, and increase the temperature to medium-high, until the jam reaches a rolling boil, stirring constantly for 10 minutes. You may need to adjust the burner’s temp a bit to make sure the jam doesn’t boil over.
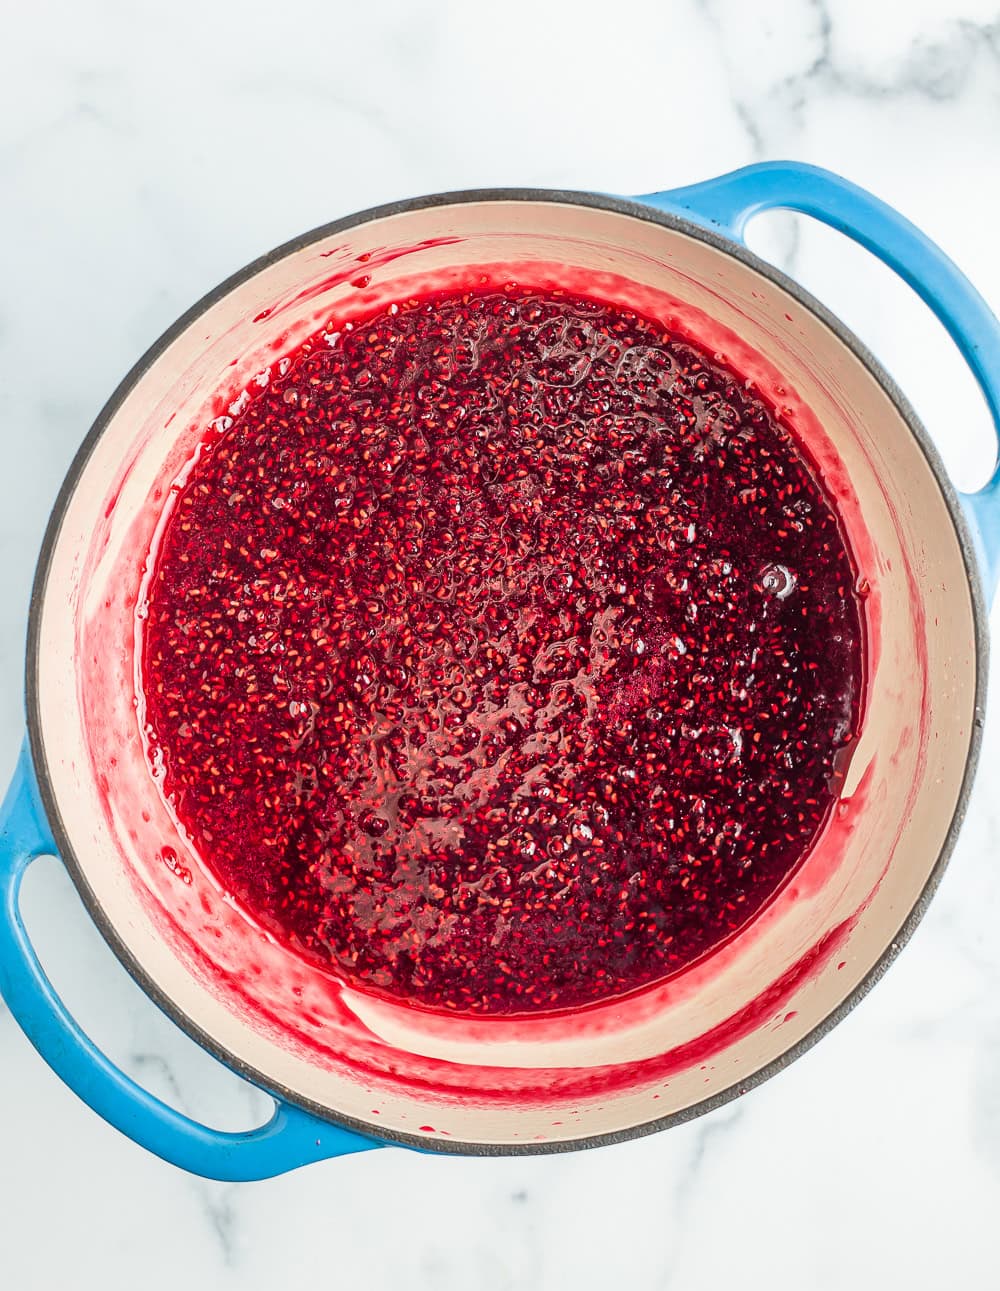
Dip the metal spoon into the jam mixture and hold it sideways over the pot. If thick drops of the jam come together to run off the spoon together, the jam is ready for canning! If the drops are runny, continue stirring the mixture, checking with the frozen spoon mixture every 2-3 minutes.
At this point, turn the burner under the canner back up to high and get that water boiling again.
Remove the jam pot from heat, and stir gently for a few more minutes. Skim any foam from the top of the jam.
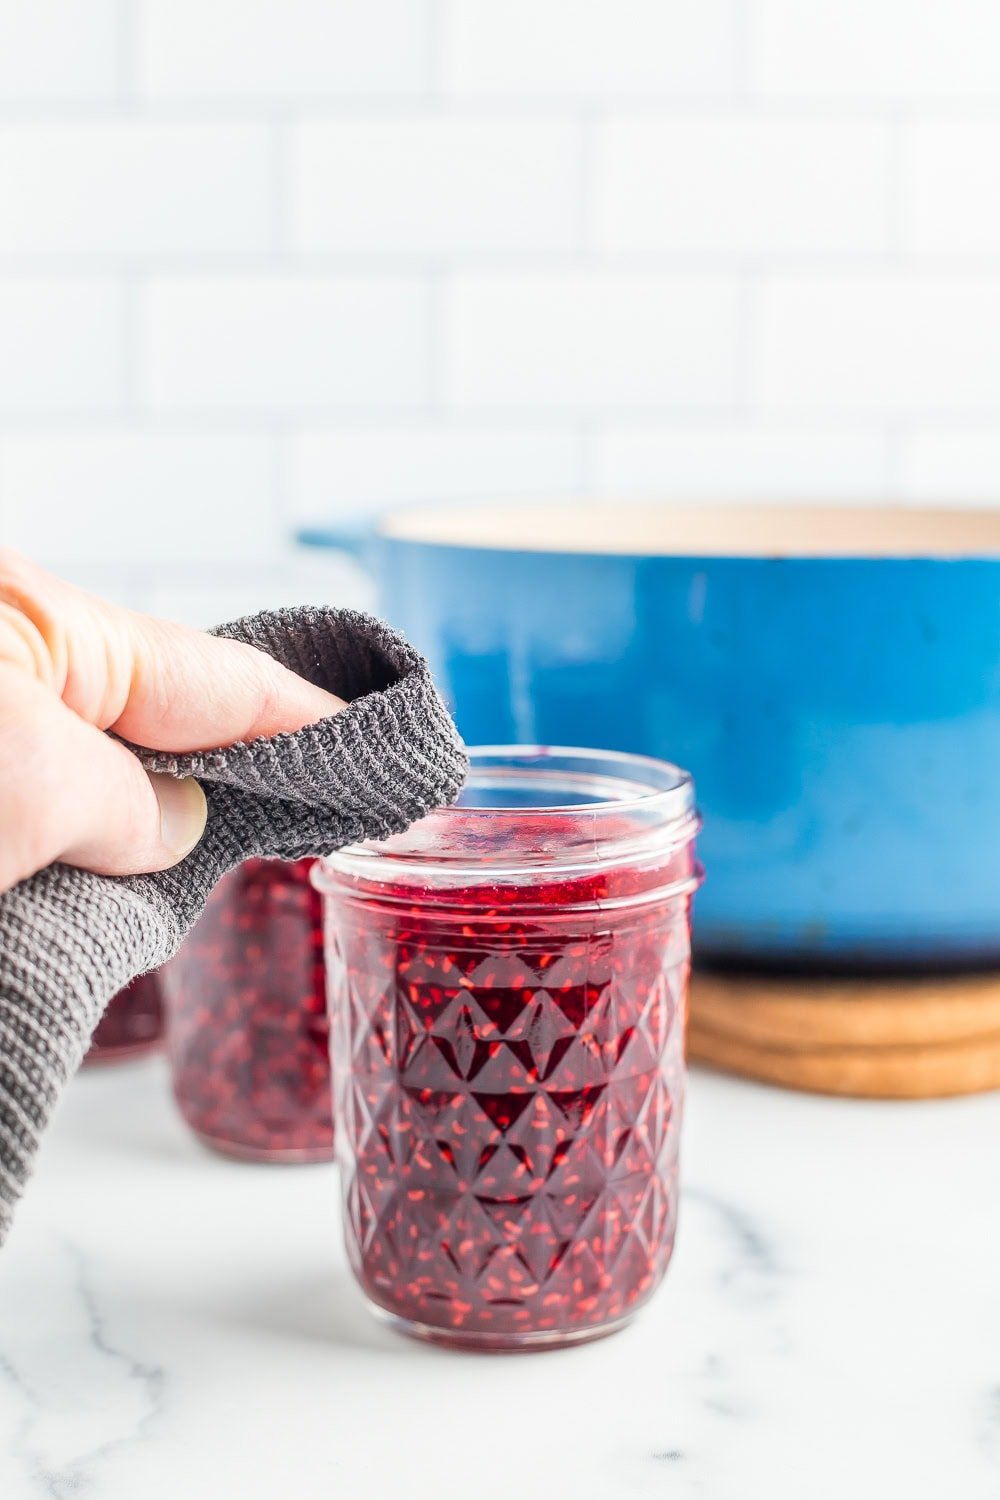
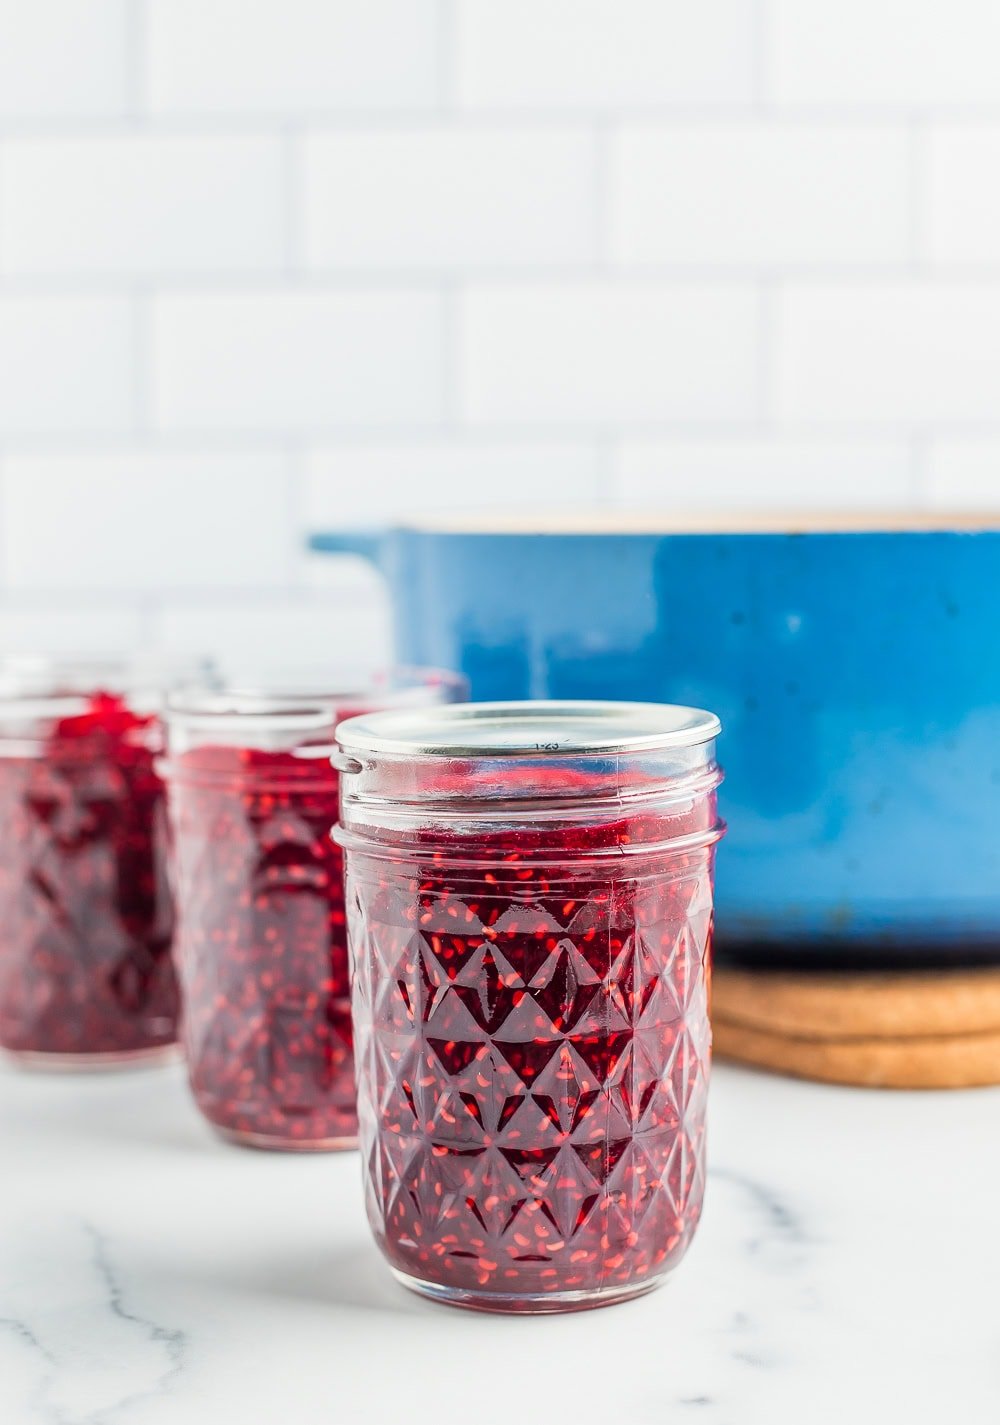
Using the funnel and a ladle, add the jam to your prepared jars, leaving 1/4 inch of headspace at the top.
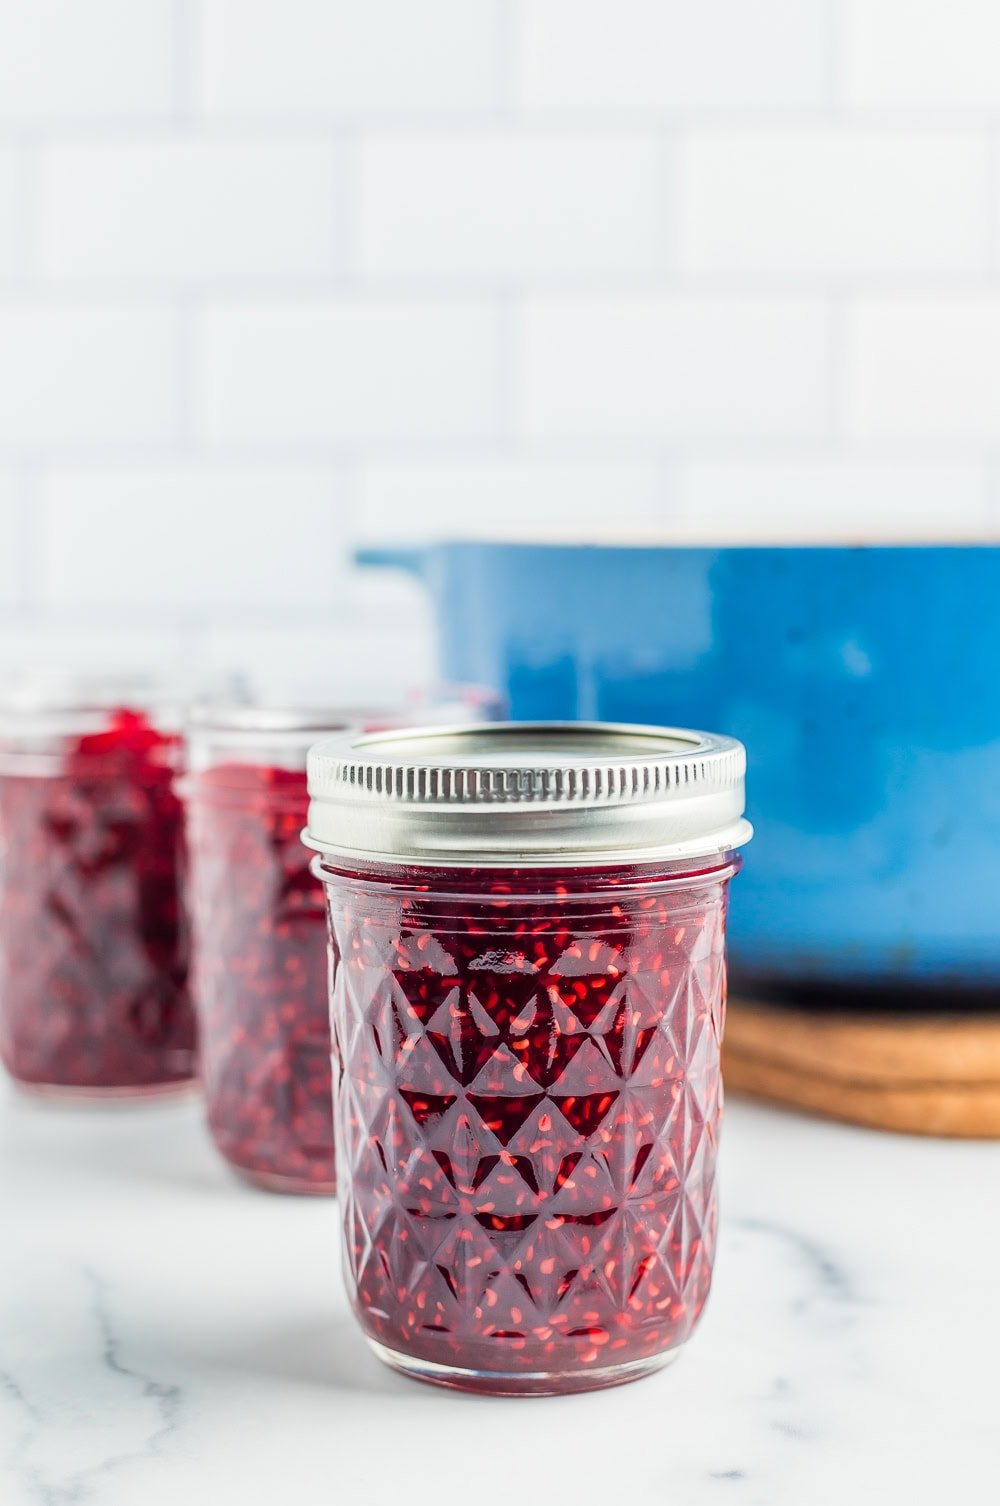
Using a wet clean rag, wipe the rim to make sure there isn’t any sticky jam on there. Place a new clean lid on the jar and then a ring. Tighten the ring to fingertip tight.
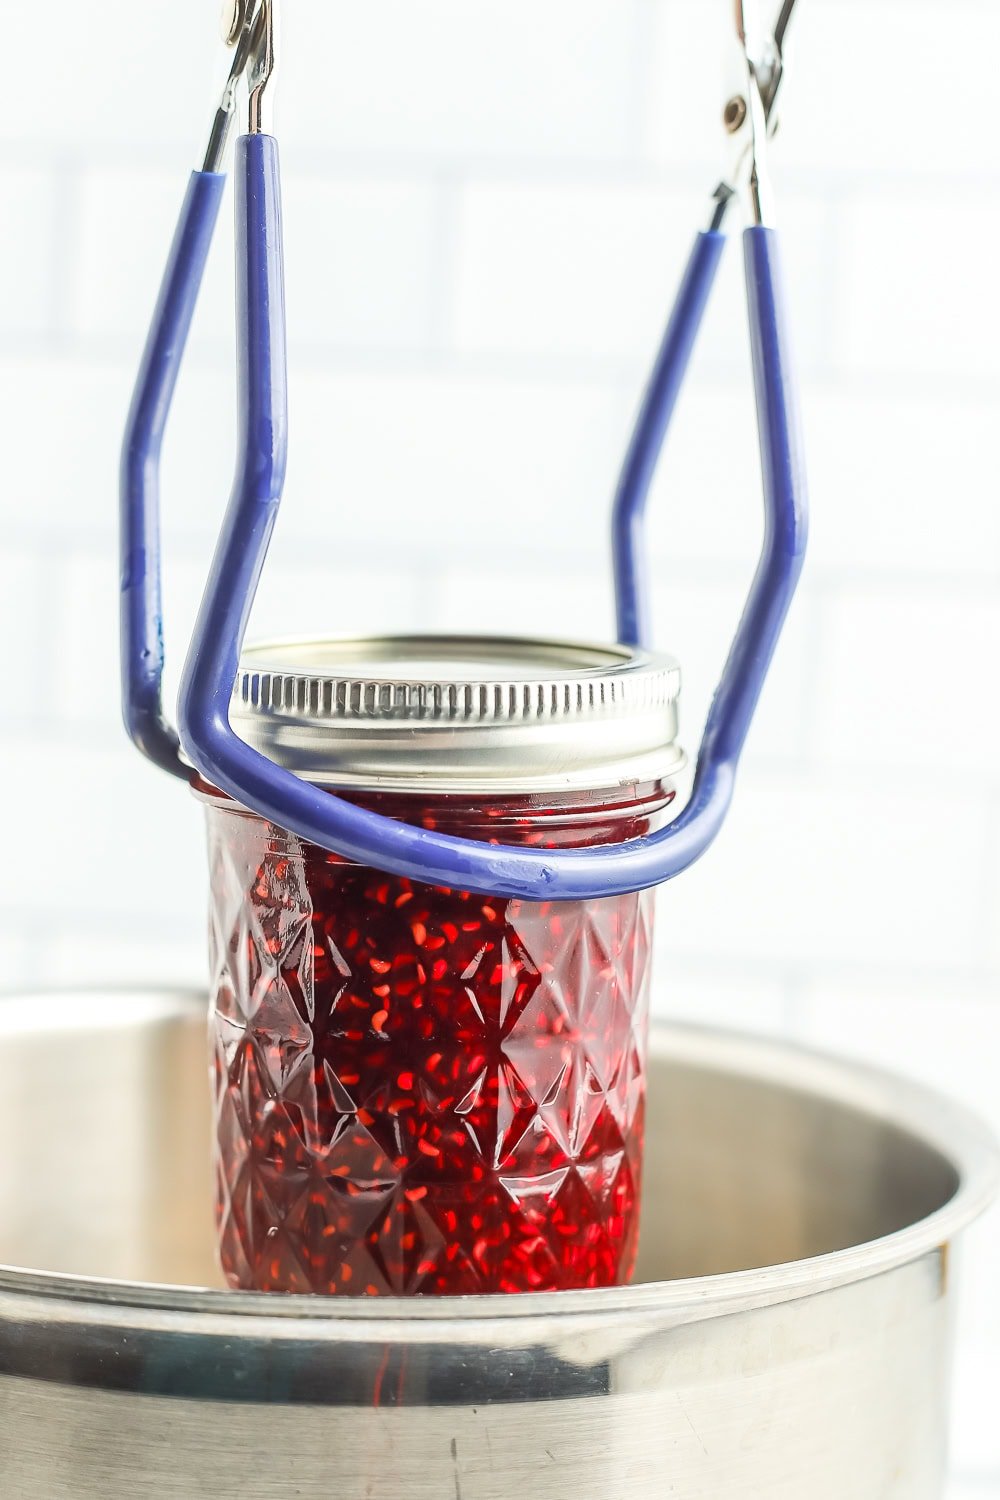
Using canning tongs, add your jars to the boiling water, and put the canner lid on. Pro tip: you must have at least 1 inch of water over the tops of the jars for safe canning. Processing times will vary based on altitude. See the chart below.
Processing Time for Raspberry Jam
Remove the canner from heat, remove the lid of the canner, and let the canner sit for 5 minutes. Use canning tongs and remove the jars and place them on towels on the counter. Make sure you put them where they can be undisturbed for 12-24 hours.
After everything has cooled, check the seal by pushing down on the middle of the lid. If it doesn’t give way, it’s sealed. Label the jars, and store in a cool dark place for 12-18 months. If the lid bows a little bit, put that in the fridge and use it within 3 weeks.
Prevent your screen from going dark
Canning Prep
-
Prepare water bath canner by filling it with water, and setting it on the stove. Turn the burner to high. Once it reaches a boil, reduce it to simmer. You want to keep the water hot so that everything is ready when the jam is.
-
Wash and sanitize your jars. You can fill them with hot water, or place them on a tray in the oven at 170˚F degrees.
-
Wash your lids and set aside in clean place.
-
Place 2-3 metal spoons in the freezer.
Making Raspberry Jam
-
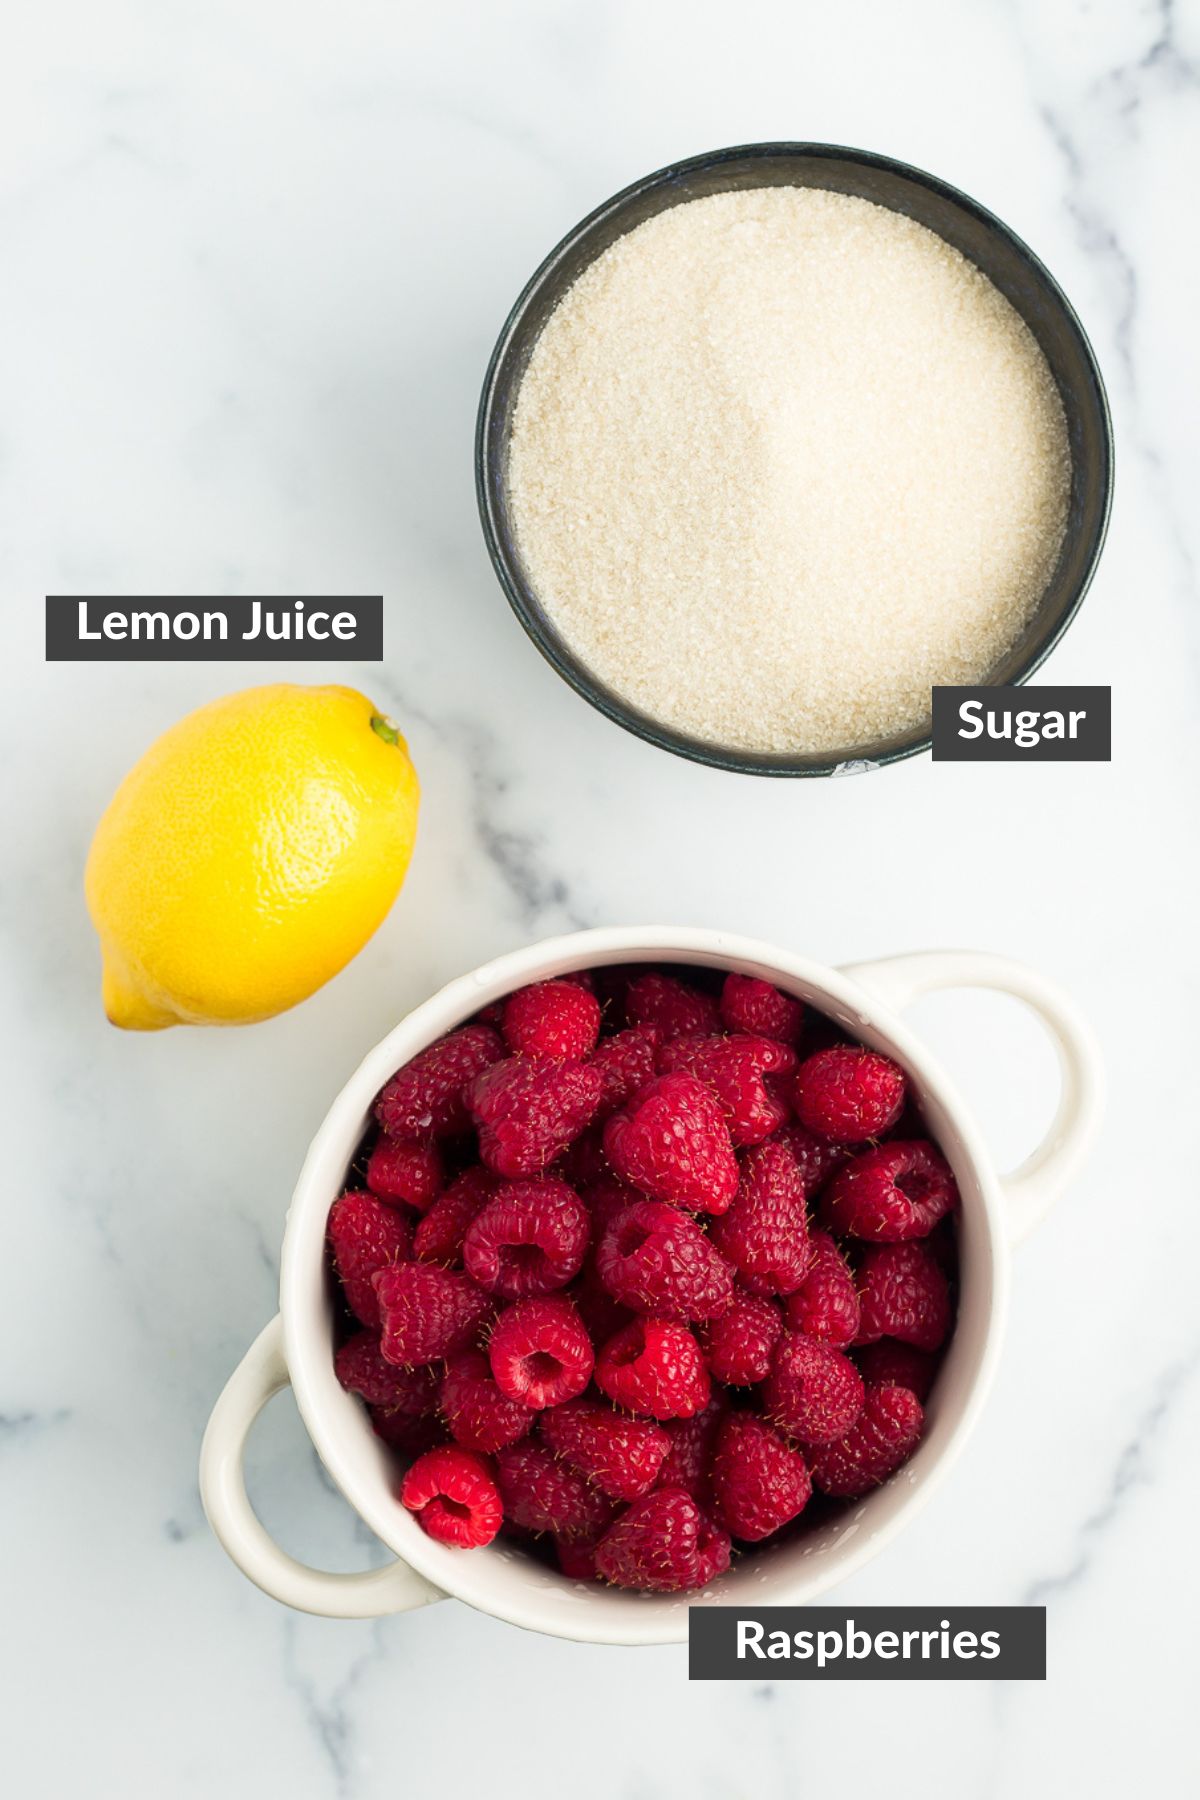
Rinse the raspberries and let drain in a colander. Set aside
5 1/4 cups rasbperries
-
In a heavy-bottomed saucepan, heat the sugar on medium for 10 minutes, stirring occasionally.
2 1/4 cups sugar
-
Add the raspberries and stir to combine with the warmed sugar.
-
Gently mash the raspberries with a wooden spoon, potato masher, or a pastry cutter.
-
Increase the temperature to medium-high and stir until all the sugar is dissolved (~5 minutes).
-
Add the lemon juice to the pot, and increase the temperature to medium-high, until the jam reaches a rolling boil, stirring constantly for 10 minutes.
2 tbsp fresh lemon juice
-
Dip the metal spoon into the jam mixture and hold it sideways over the pot. If thick drops of the jam come together to run off the spoon together, the jam is ready for canning! If the drops are runny, continue stirring the mixture, checking with the frozen spoon mixture every 2-3 minutes.
-
At this point, turn the burner under the canner back up to high and get that water boiling again.
-
Remove the jam pot from heat, and stir gently for a few more minutes. Skim any foam from the top of the jam.
-
Using the funnel and a ladle, add the jam to your prepared jars, leaving 1/4 inch of headspace at the top. Headspace is the amount of room between the top of the food, and the top rim of the jar.
-
Using a wet clean rag, wipe the rim to make sure there isn’t any sticky jam on there.
-
Place a new clean lid on the jar and then a ring. Tighten the ring to fingertip tight.
-
Using canning tongs, add jars to the boiling water, and put the canner lid on. Pro tip: you must have at least 1 inch of water over the tops of the jars for safe canning.
-
Process half-pints and pints based on the elevation guide below:*0-1,000 ft – Half-Pints & Pints =5 min *1,001-6,000 ft – Half-Pints & Pints =10 min *6,000 ft+ – Half-Pints & Pints =15 min
-
Once the jam has processed for the appropriate amount of time, remove the canner from the burner, and carefully remove the lid of the canner (Pro tip: use oven mitts to take the lid off because the steam is super hot).
-
Using canning tongs, carefully remove the jars, and place them on a thick towel in a place where they can be undisturbed for 12 hours.
-
After the jars have rested for about 12 hours, press down in the middle of each lid. If it “gives” at all, the jar didn’t seal. Either enjoy it that day, put it in the fridge, or reprocess it.
-
Once the jars have sealed and cooled, remove the rings. Label and store sealed jars in a cool (best results are 50-70˚F) dark place for up to 12-18 months.
- Makes 3, 8 oz jars.
- Jam is best when made in small batches. Doubling this recipe is fine, but I would hesitate to triple it.
- Once opened, it will last for 2-3 weeks in the fridge or 12-18 months sealed and at room temperature.
- Nutrition values are an estimate only.
Serving: 1tbspCalories: 24kcalCarbohydrates: 6gProtein: 1gFat: 1gSaturated Fat: 1gSodium: 1mgPotassium: 29mgFiber: 1gSugar: 6gVitamin A: 5IUVitamin C: 11mgCalcium: 3mgIron: 0.1mg
Nutrition information is automatically calculated, so should only be used as an approximation.

Get my Canning e-book!
It’s 51 pages of every helpful tip and trick you could want as a brand new canner, AND it includes 13 ad-free canning recipes that are designed to take you from novice to pro.