As an Amazon Associate, I earn from qualifying purchases.
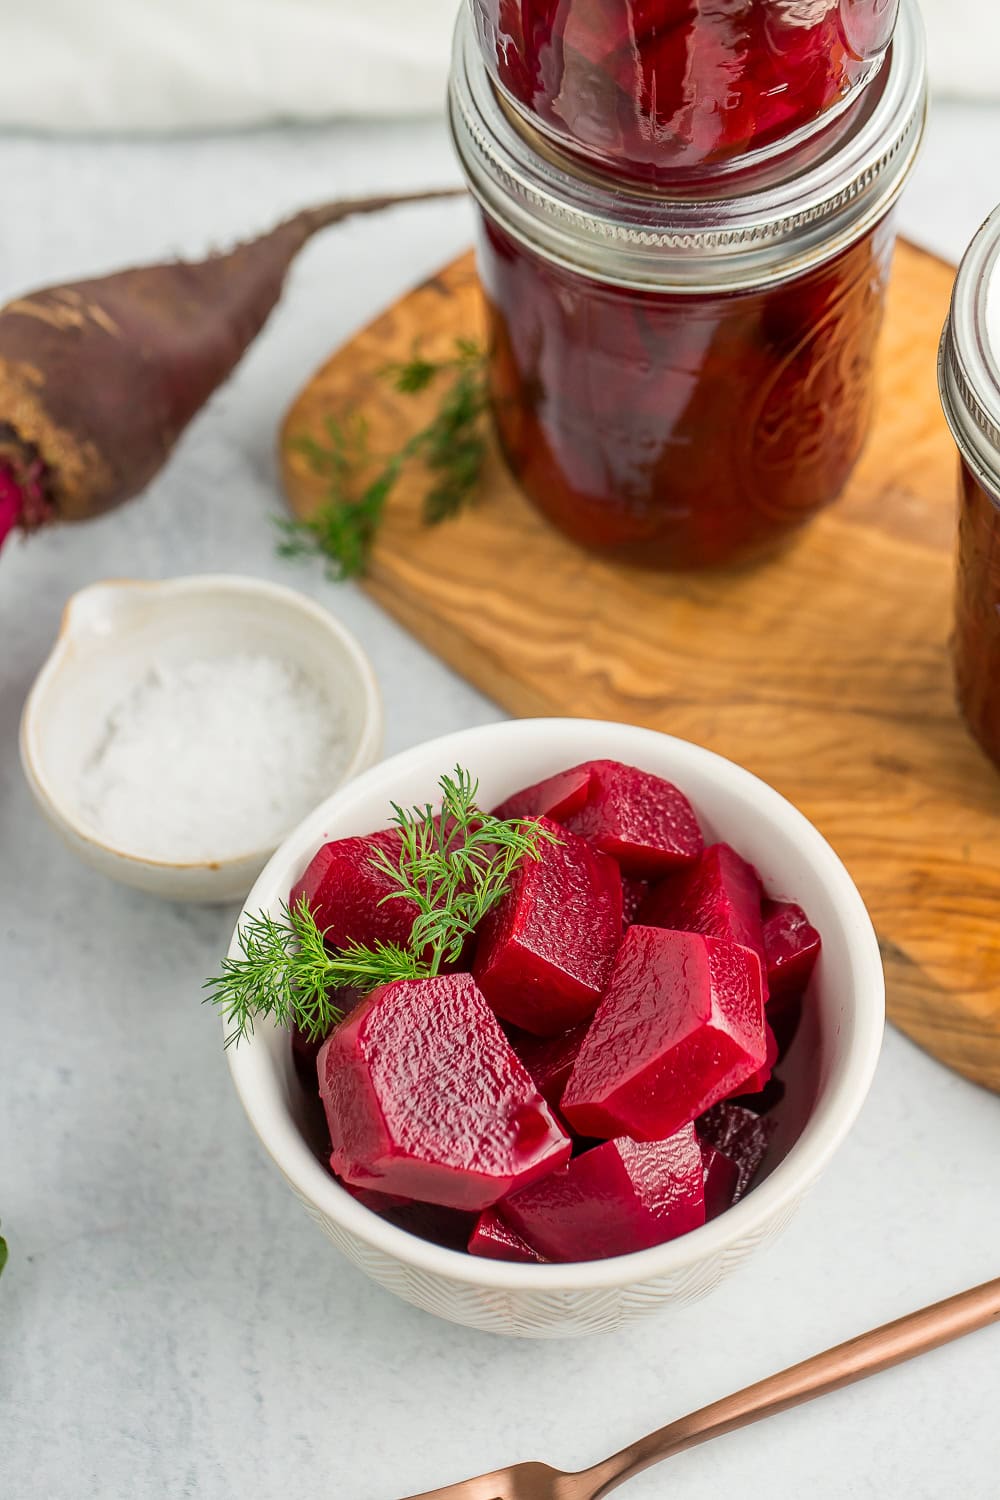
A simple and easy recipe for canning homemade pickled beets. This tangy pickled vegetable recipe is a new take on a classic, like grandma used to make, but with less sugar and more flavor.
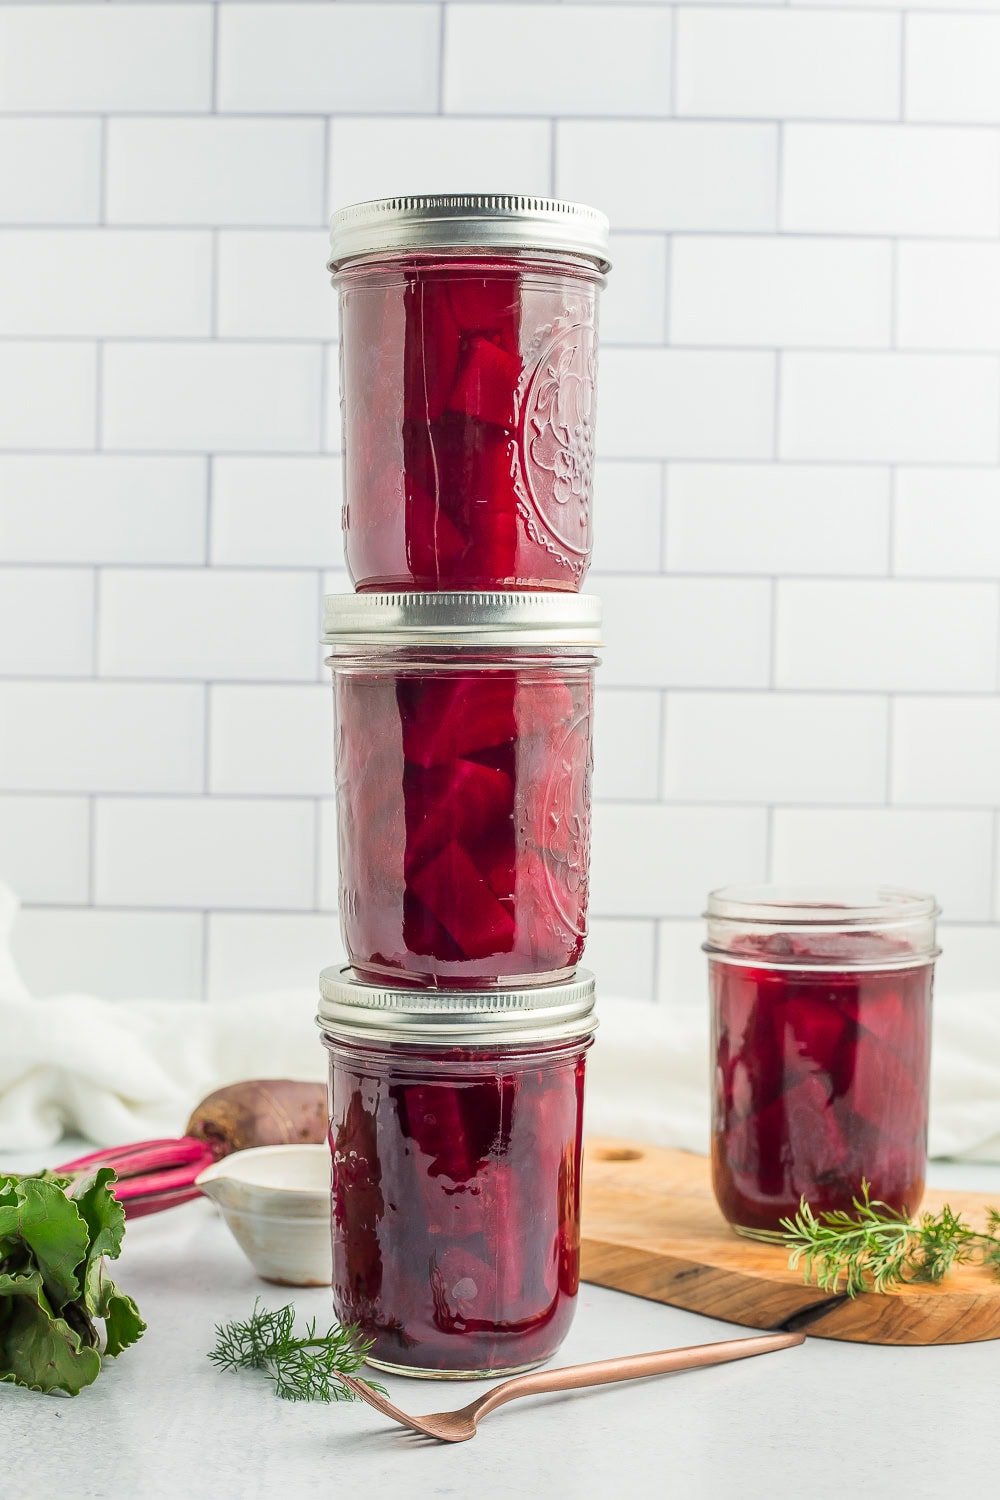
I can eat a ridiculous amount of pickled beets in one sitting. They’re SO good and unlike our refrigerator pickled beets, when you can them, they are shelf-stable and can be stored for up to 18 months.
These are just as good as the ones my Nana used to make…minus the FOUR cups of sugar that we discovered on her handwritten recipe card. We’re making pickled beets…not beet candy!
And just a quick note – if you’d like a plain recipe for canned beets without them being pickled, check out our tutorial on pressure canning beets in water. They’re plain Jane but they get the job done!
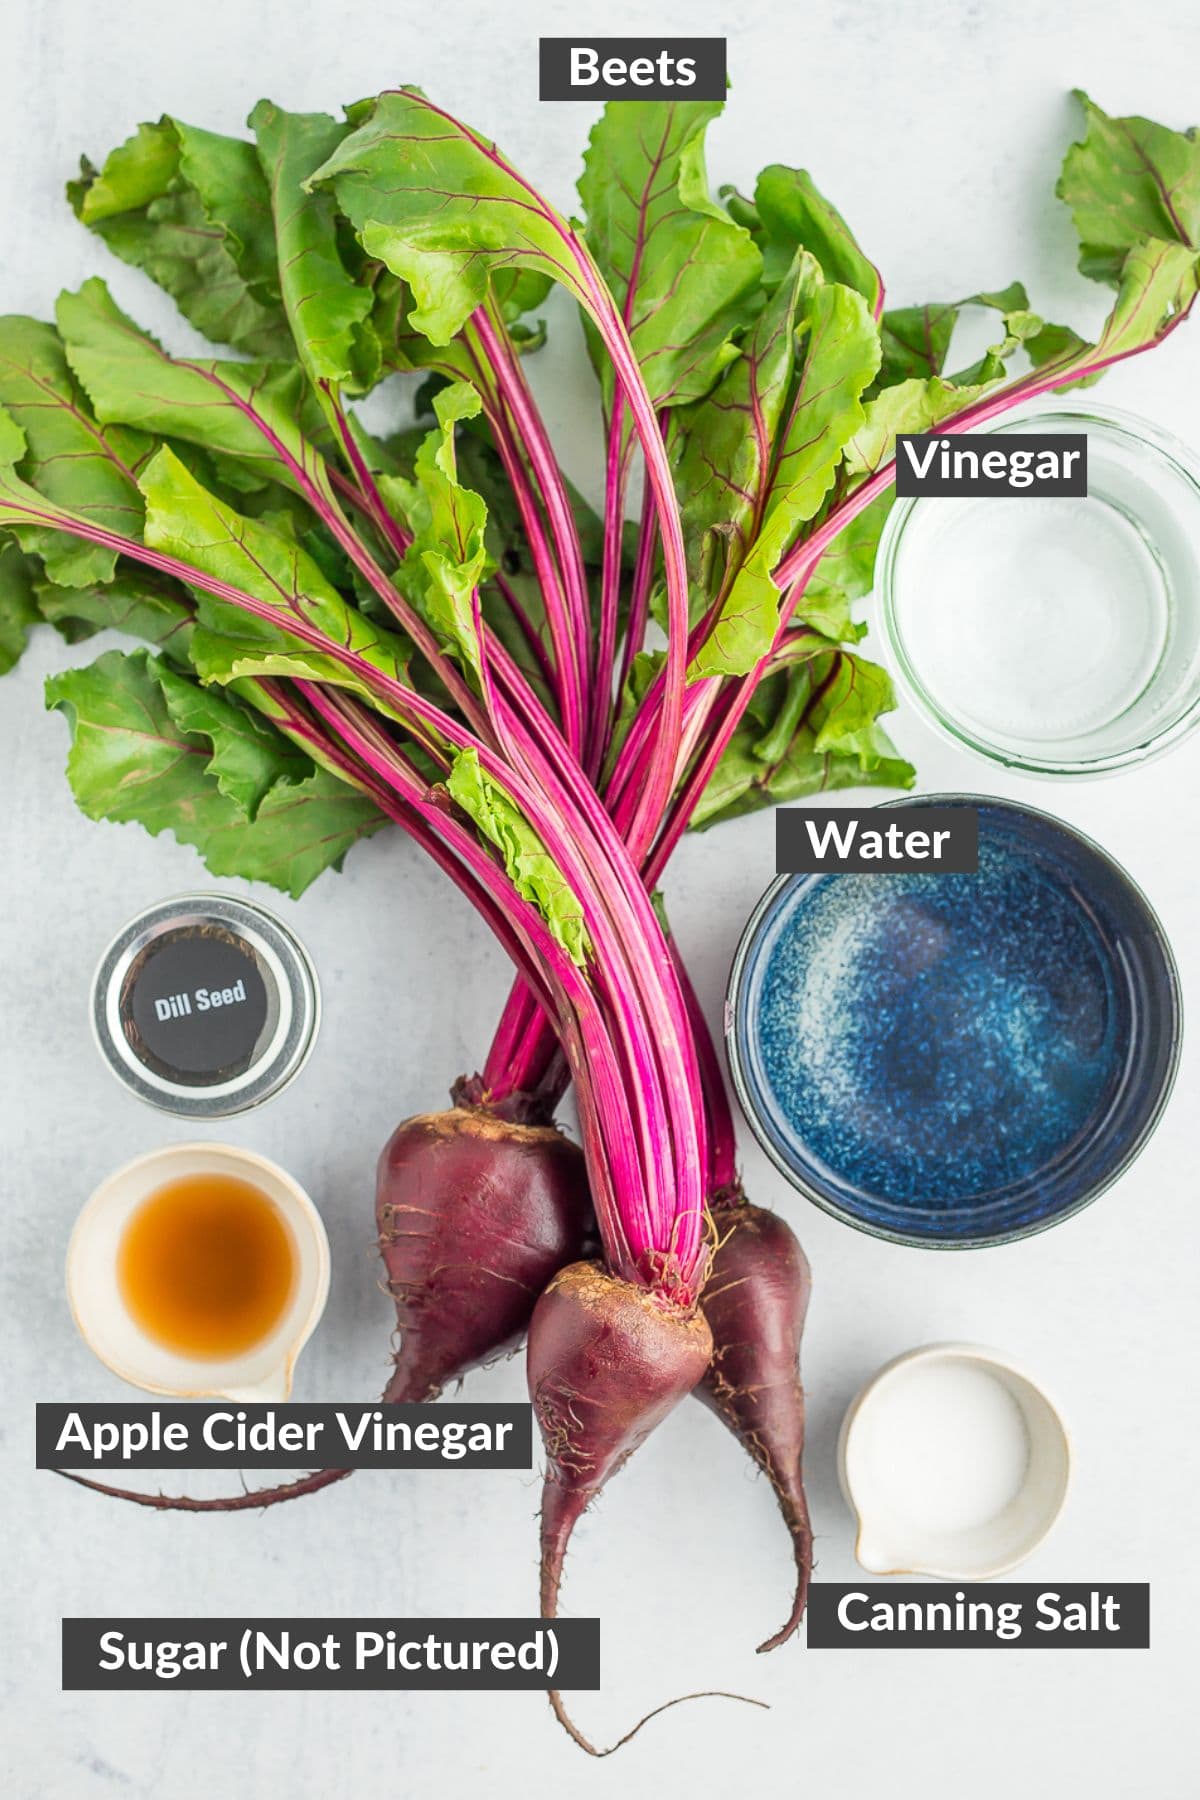
Canning or pickling salt is preferable to table or kosher salt as it will not turn cloudy when used in canning recipes.
How to Can Pickled Beets
Select young beets that are smaller than 3 inches in diameter. Wash the beets using a vegetable scrub brush.
Other recipes for canning pickled beets might recommend cooking the beets with the root and skin still on and then peeling them after the fact. That requires your hands to look like a scene from Carrie and plus, you’re going to be dealing with some hot AF beets.
You though? You are super smart, and you’re cutting the skin off first and then steaming. Cut the beet top and beet butt (technical people will call it the root end, but whatevs) off.
Place the root end on a cutting board and using a sharp knife, cut downward to remove the skin. Save the greens for a salad or smoothies.
From here, you can bake, boil, or steam the beets. My favorite method is to steam them in the Instant Pot because it frees up a burner on the stove, and you can fill it to the tippy top, cooking them ALL at once.
Instant Pot beets method
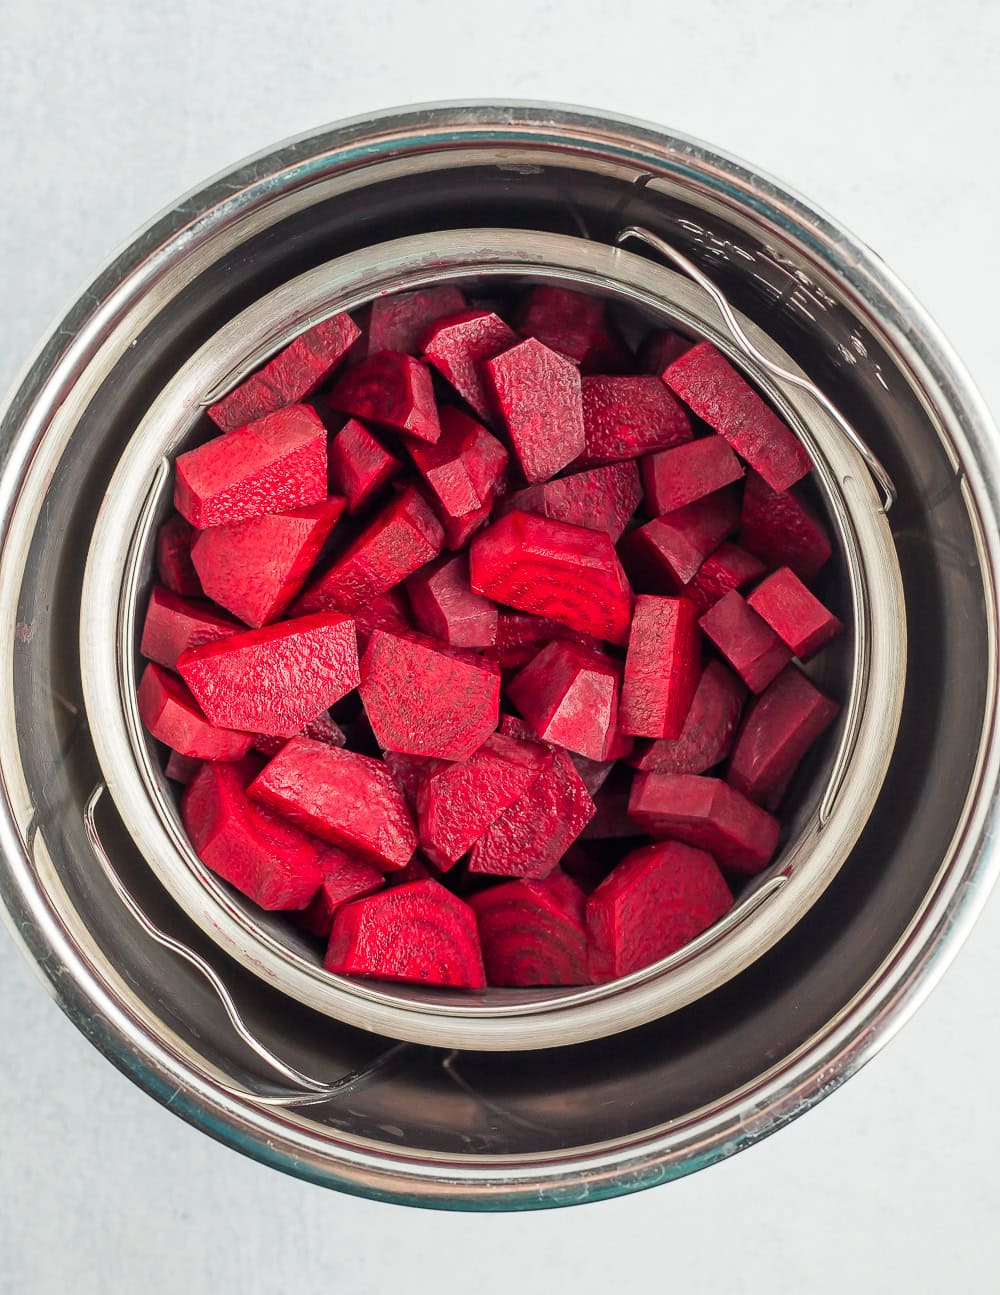
Put a trivet/steamer basket in your Instant Pot and add 1.5 cups of water. Place the beets on top of the trivet or in the steamer basket.
Secure your lid. Set the vent to “sealing”, then Manual>High Pressure>(see time chart below)
- 10 minutes – best for wee little baby beets under 2 inches in diameter.
- 13 minutes – best for medium-sized beets between 2 and 3 inches in diameter.
- 20-25 minutes – best for bigger beets 3+ inches in diameter.
Rinse the steamed beets in cold water or submerge them in an ice bath to stop the cooking process.
Stovetop beets method:
(Steaming) Place beets in a pot fitted with a steamer insert. Add water to the pot and place the beets in the insert. Place the lid over the pot and cook on medium-low for 10-15 minutes.
(Boiling) Cover beets with water and cook on medium-high for 15-20 minutes.
Rinse the cooked beets in cold water or submerge them in an ice bath to stop the cooking process.
Canning Prep
Wash and clean your jars. It is no longer necessary to sterilize jars before canning (hurray!) but you should make sure they are preheated enough to not crack when placed in hot water.
You can put them in a clean dishwasher and run them through a quick wash cycle, or place them in a large pan with some water in a low-heat oven (my lowest temp is 170˚F degrees) until you need them. I’ve even just put hot tap water in them before and left them on the counter.
Wash your lids with hot soapy water. Rinse and place them in a clean bowl for now.
Add 3 quarts of water to your pressure canner and put it on a burner set to high. Make sure there is a canning rack in the bottom of the canner.
Making & Canning the Pickled Beets
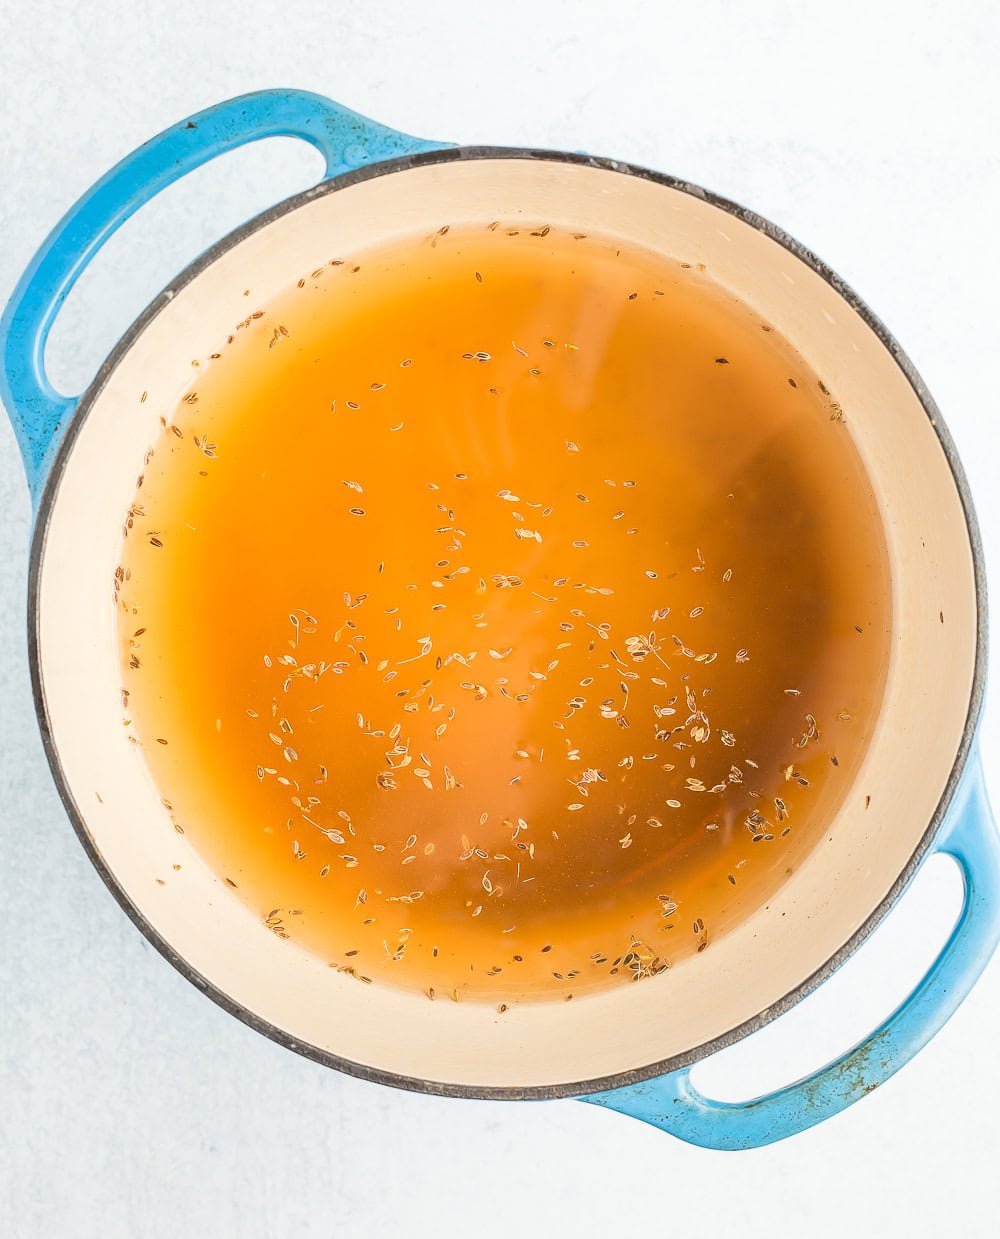
In a large pot, combine white vinegar, apple cider vinegar, water, sugar, canning salt, and dill seed. Bring to a boil and heat until the sugar and salt have dissolved.
Add the beets and cook in the brine for 5 minutes.
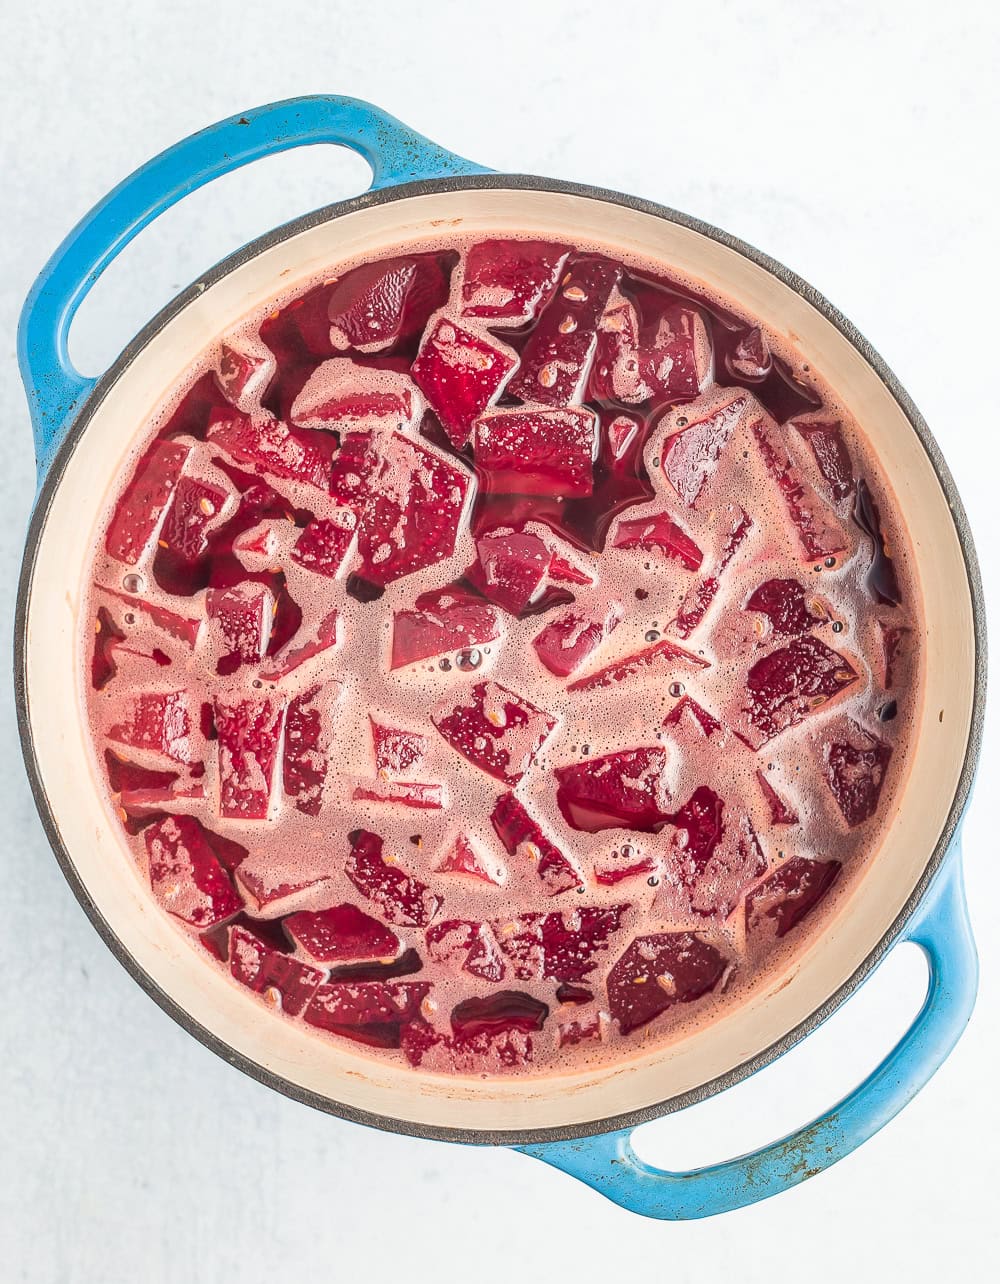
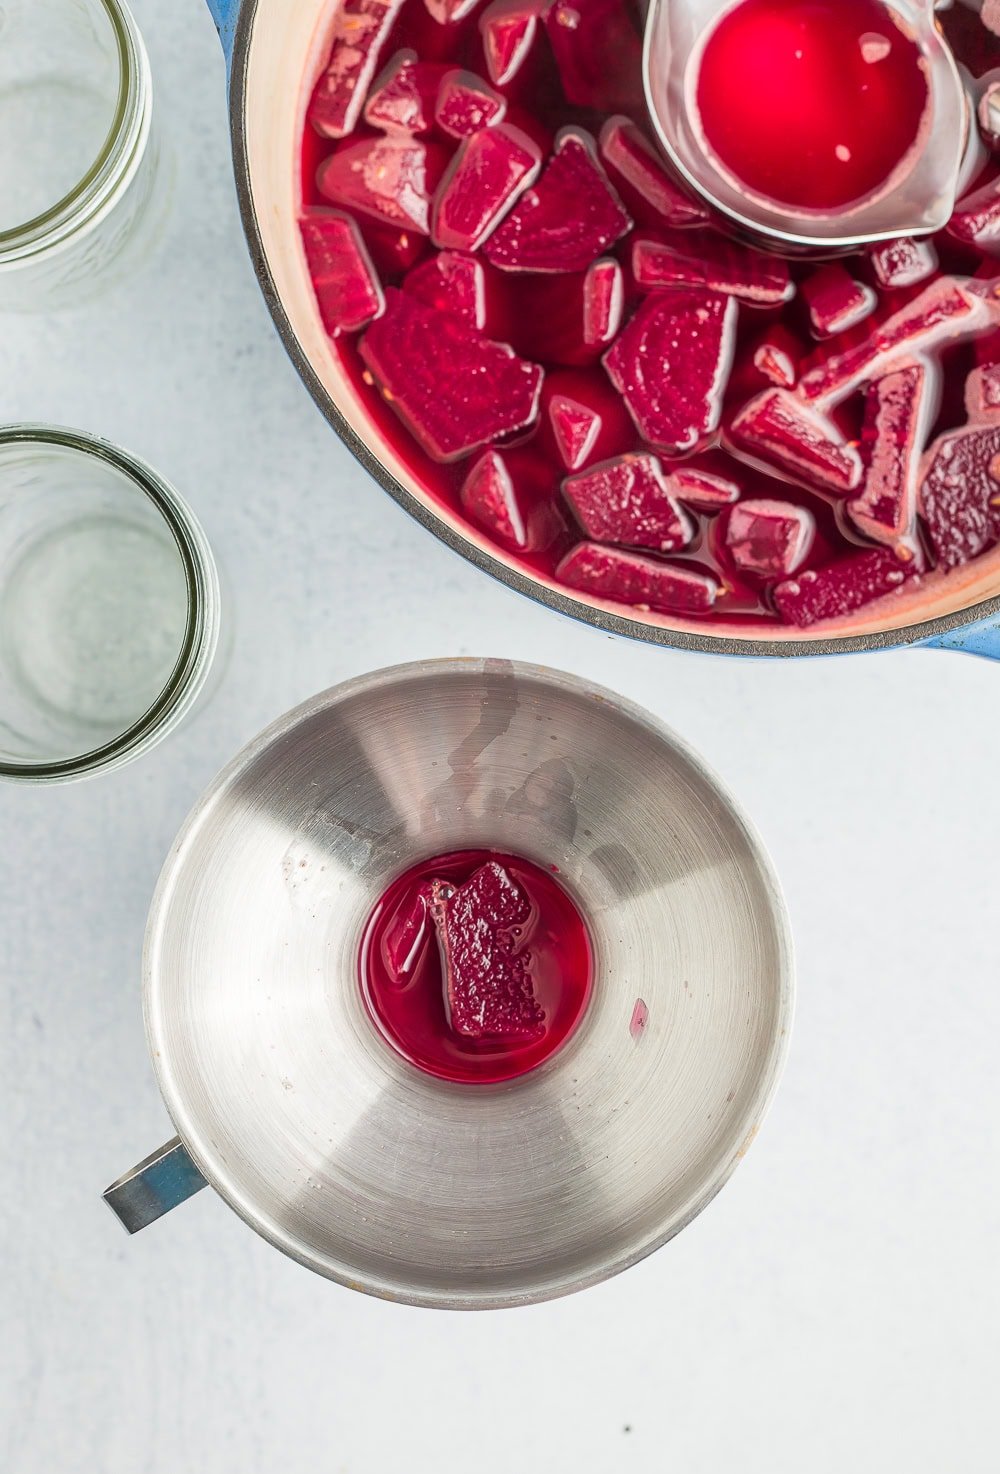
Using a canning funnel, carefully add hot beets to prepared jars. Ladle in the hot brine, leaving 1/2 inch of headspace.
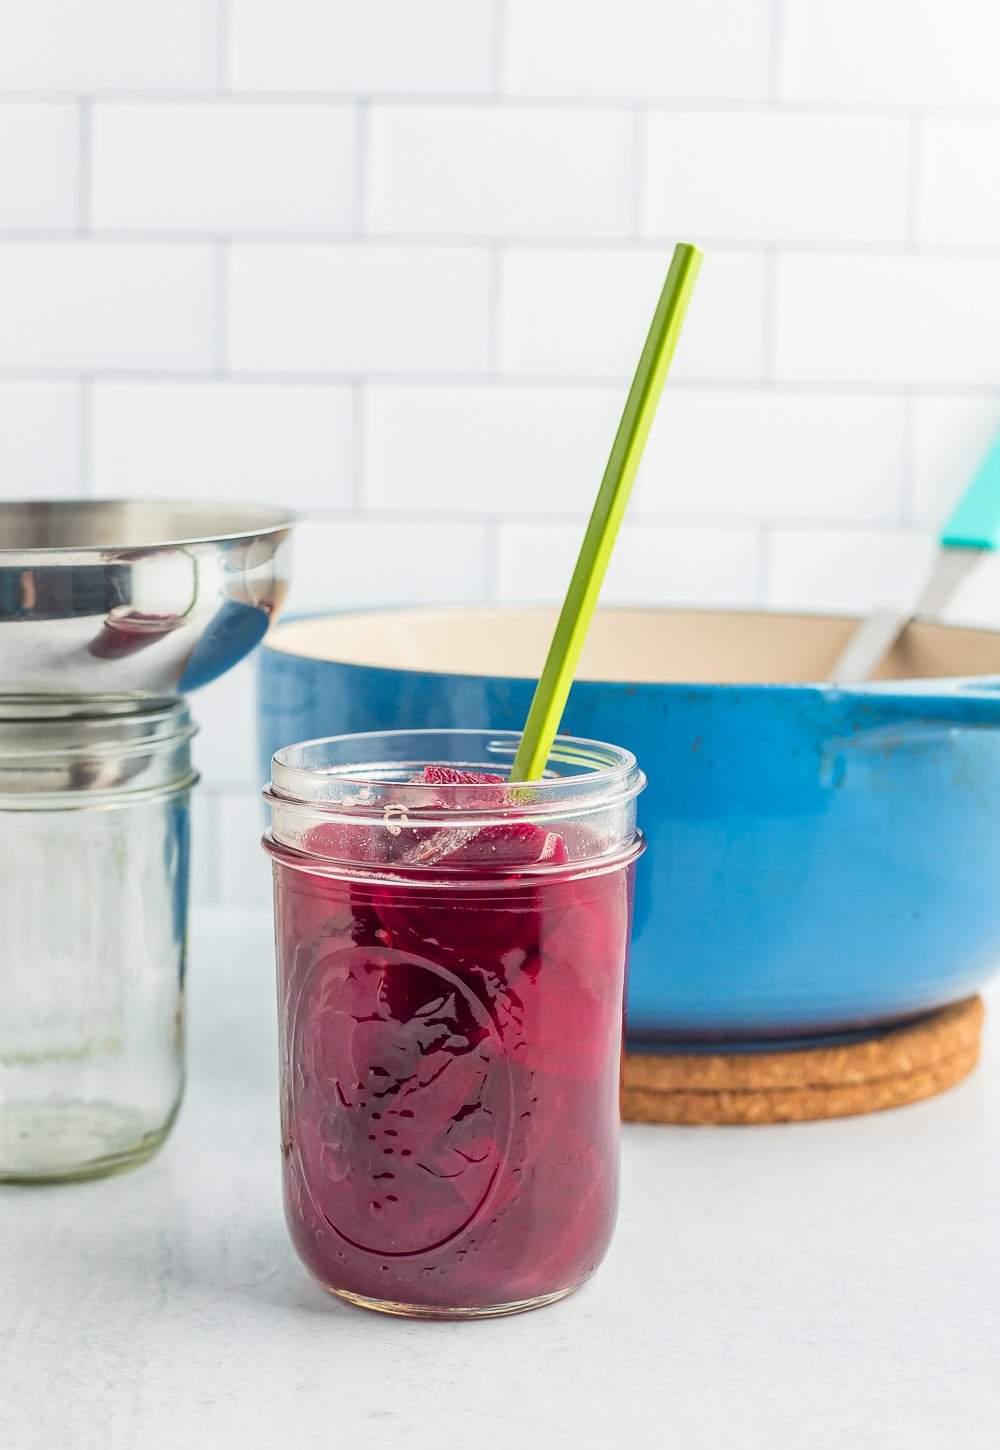
Using a long utensil (I prefer a plastic chopstick), remove air bubbles from the jar.
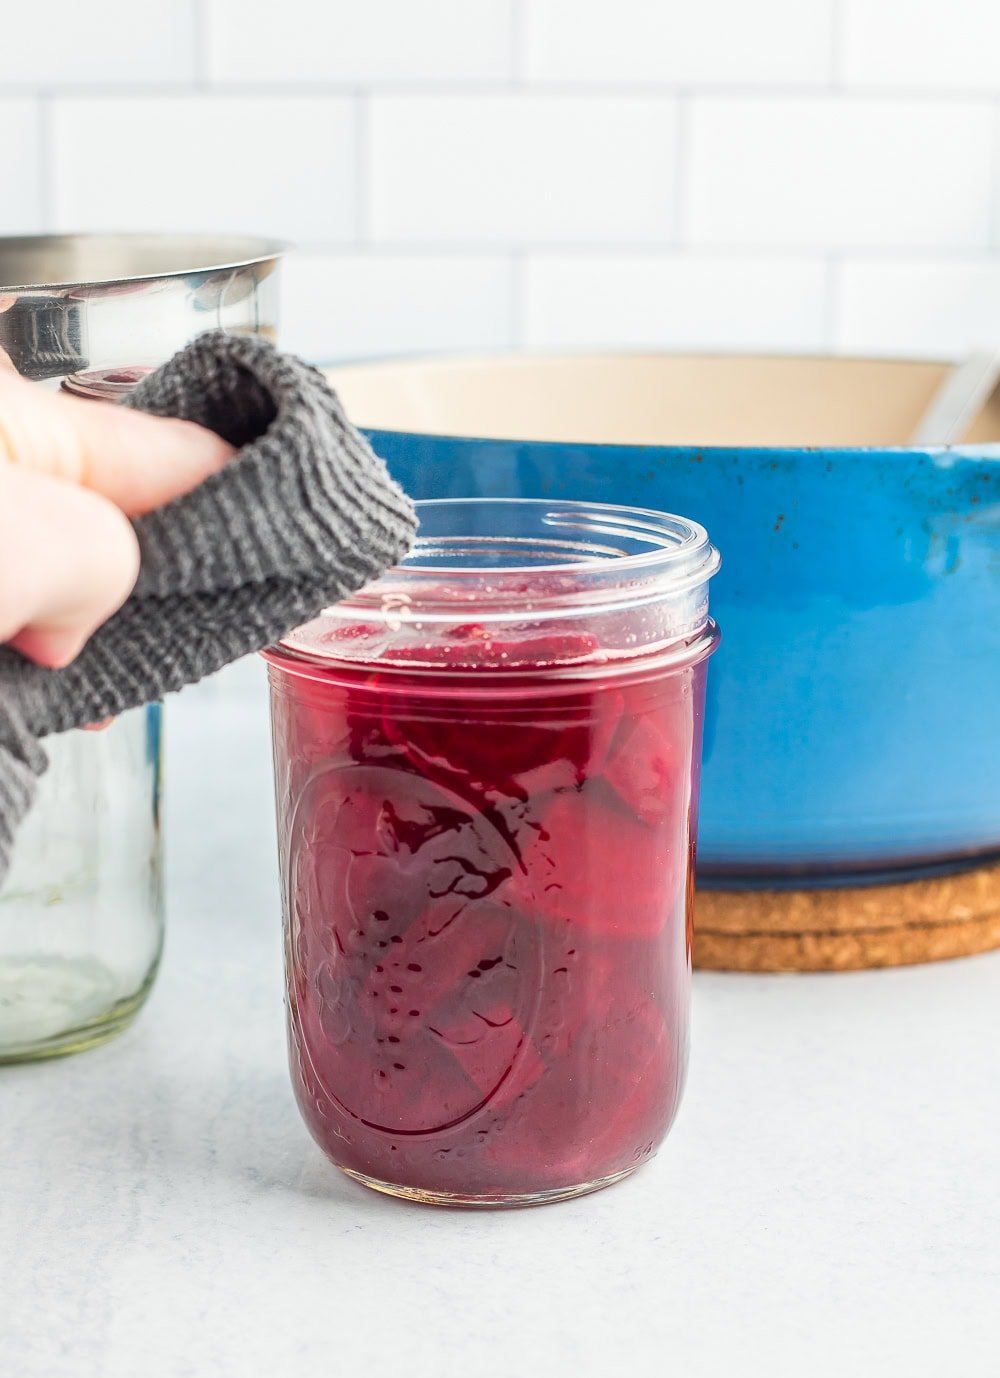
Clean the rim of the jar very well with a hot damp rag. Any food debris left on the rim may impact the seal of the lid in the canner.
Place a clean lid on the jar. Add a ring, and tighten it to fingertip tight.
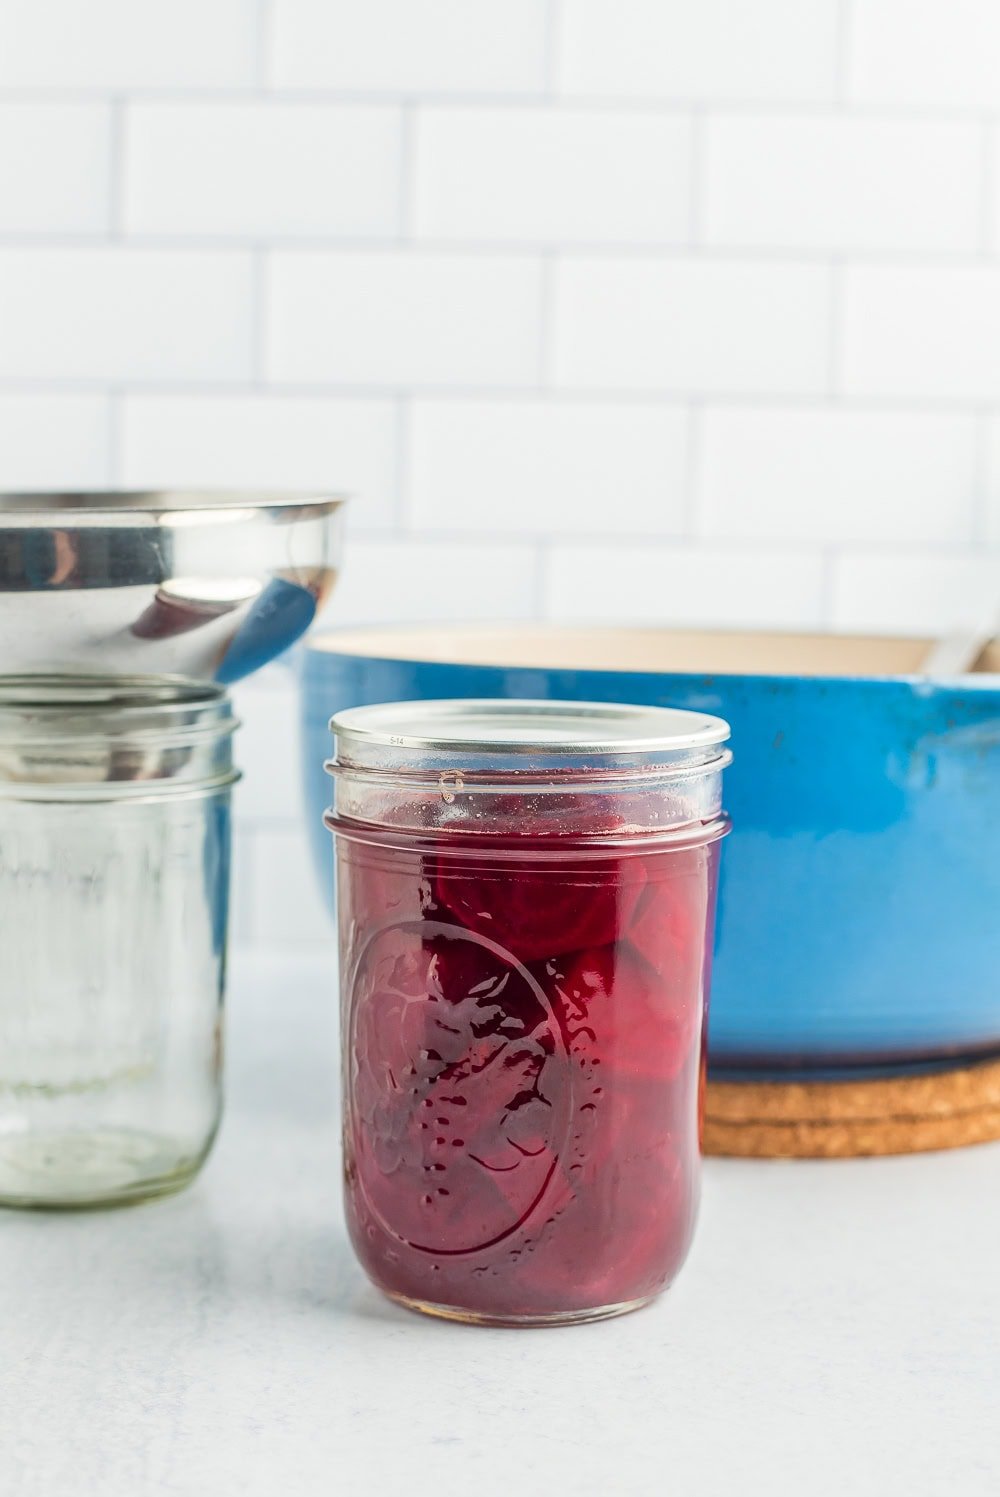
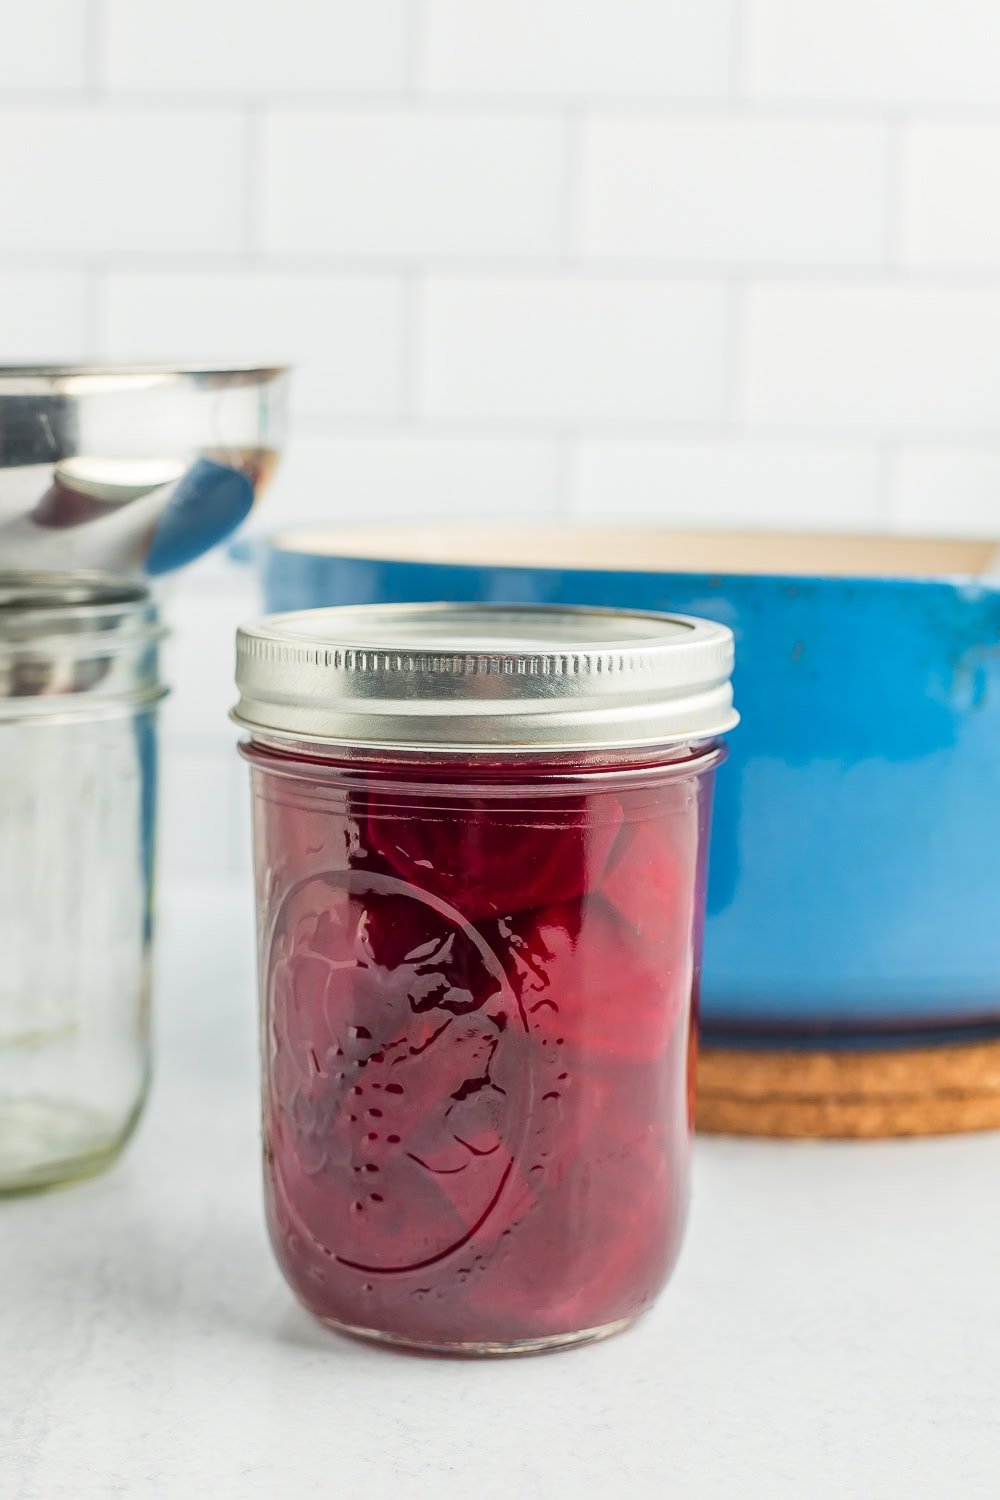
Using canning tongs, gently place the jars in the canner. Lock the lid. Soon, steam will start coming through the vent pipe (I call it the steam chimney). Allow the steam to pass through for about 10 minutes.
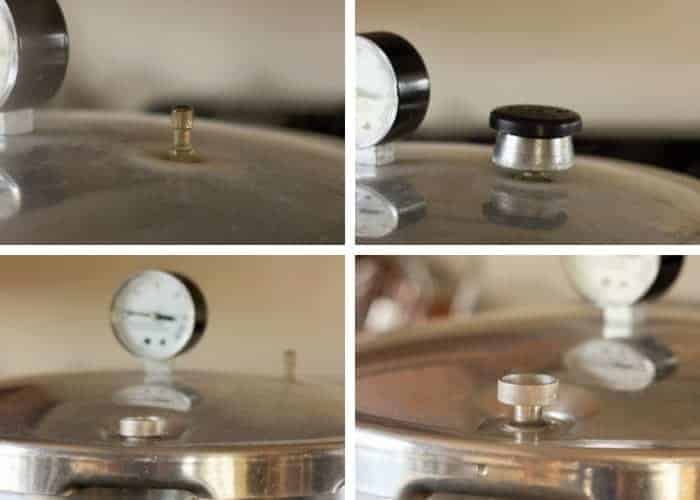
Then put the pressure regulator (I call it the chimney cap) on top. Pretty soon, the air vent will pop up. That is a sign that you’re starting to build pressure inside the canner (get excited. This is happening!). See the four photo grid below for a visual of this process step by step.
Processing times will vary based on altitude. See the charts below.
Pressure Canning Pickled Beets in a Dial-Gauge Pressure Canner
| Canner Pressure (PSI) at Altitudes of | ||||||
| Style of Pack | Jar Size | Processing Time | 0-2,000 ft | 2,001-4,000 ft | 4,001-6,000 ft | 6,001-8,000 ft |
| Hot | Pints | 30 min | 11 lbs | 12 lbs | 13 lbs | 14 lbs |
| Quarts | 35 min | 11 lbs | 12 lbs | 13 lbs | 14 lbs | |
| *Source: National Center For Home Food Preservation | ||||||
Processing Time for Pickled Beets in a Weighted-Gauge Pressure Canner
When the dial gauge reaches the appropriate PSI, reduce the burner temp to medium, and start your timer. The pressure must stay at the PSI or (a little bit) above for the duration of the cooking time. You’ll likely need to adjust the temp on the burner a few times depending on your stove.
When the time is up, remove the canner from the burner and allow it to sit until you hear a distinctive “click” of the air vent dropping. Remove the pressure regulator and carefully remove the lid of the canner (Pro tip: I always use oven mitts when I take the lid off because the steam is super hot).
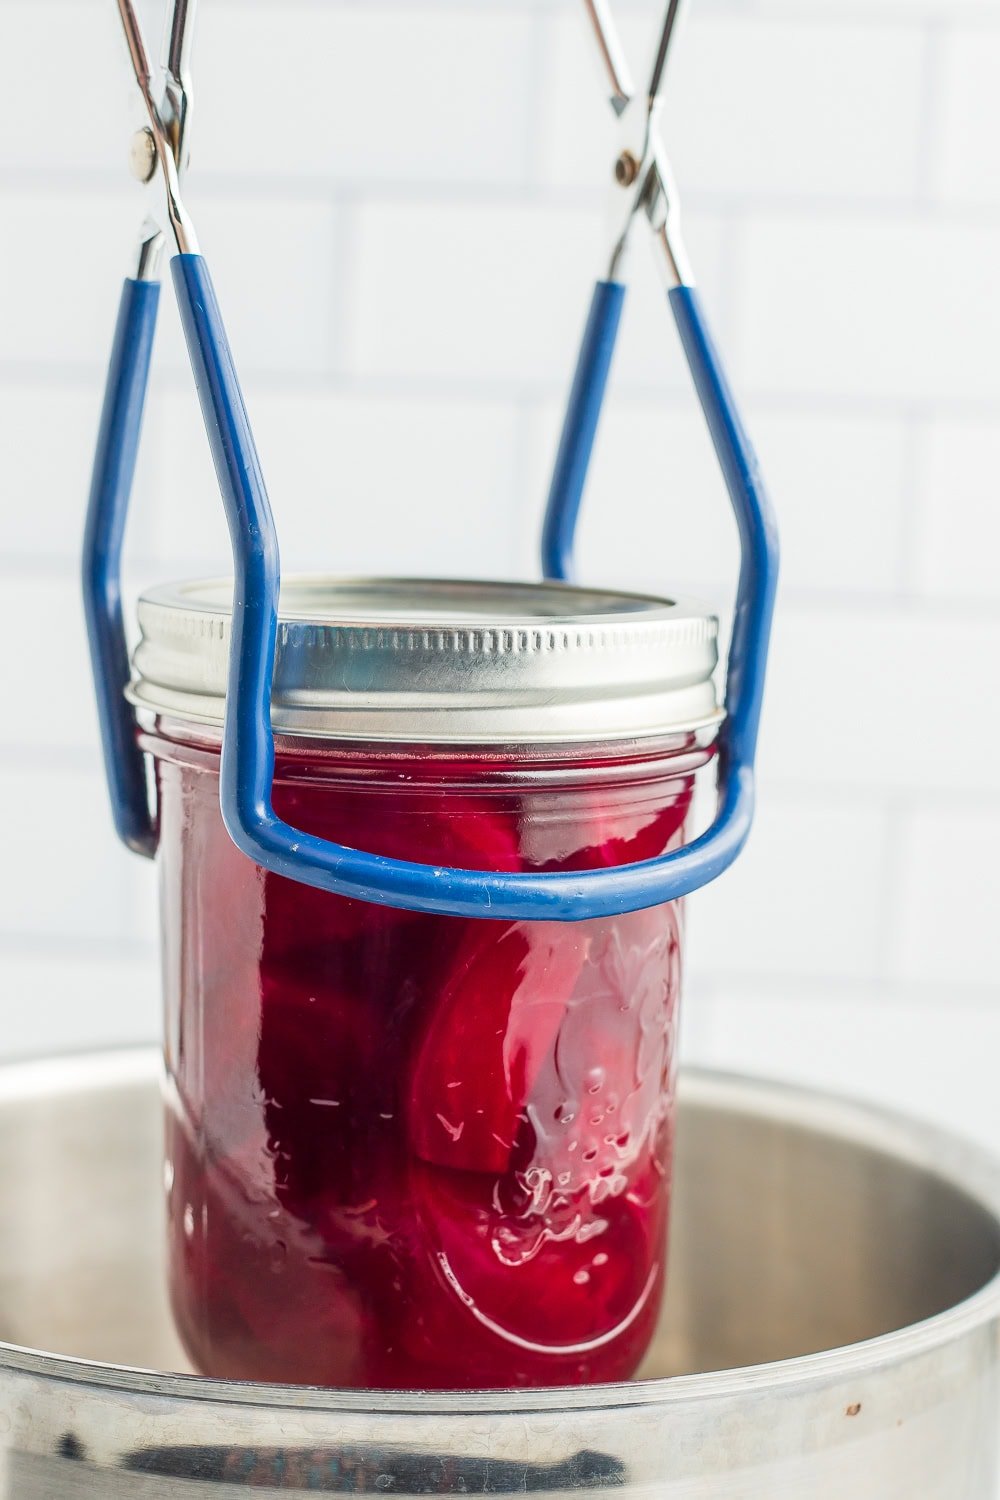
Let the jars sit for 5 minutes in the canner with the lid of the canner off, and then lift them out with canning tongs. Pro tip: allowing the jars to sit in the canner with the lid off can help reduce the siphoning of liquid in your jars.
Place hot jars on a towel where they can sit undisturbed for 12 hours.
After a few hours, to check for sealing, gently press down in the middle of the lid. If the lid has no give, it’s sealed. If you can press the lid in and it pops a bit, your jars are not sealed.
Pro Tips/Recipe Notes
- Sometimes I like to add sliced onions to my pickled beets recipe. You can add 1.5-2 cups of sliced white onions to this recipe.
- Siphoning is when liquid seeps out from under the lids and reduces the overall amount of liquid in the jar. If just a bit of siphoning has happened and your jars sealed, your item is still safe to eat, but use your best judgment. I tend to quickly use any jar that has experienced siphoning simply because it can discolor the food at the top not covered in the liquid.
- Pressure canners can often leave white lines on lids, rings, and jars. It’s totally normal and safe. To prevent this, add 1/3 cup of white vinegar to the canner before processing.
Prevent your screen from going dark
Prep the Beets
-
Cut the beet top and root end off. Place the root end on a cutting board and using a sharp knife, cut downward to remove the skin.
4 lbs beets
-
Depending on the size of the beets, cut them into quarters or slices.
-
To steam: place beets in a pot fitted with a steamer insert. Add water to the pot and place the beets in the insert. Place the lid over the pot and cook on medium-low for 10-15 minutes.
-
To boil: cover beets with water and cook on medium-high for 15-20 minutes. Strain and rinse in cold water.
-
Add 3 quarts of water to your pressure canner and put it on a burner set to high. Make sure there is a canning rack in the bottom of the canner.
-
In a large pot, combine white vinegar, apple cider vinegar, water, sugar, canning salt, and dill seed.
2 cups white vinegar, 1/2 cup apple cider vinegar, 1 1/4 cup water, 1 cup sugar, 1 tbsp canning salt, 1 tbsp dill seed
-
Bring to a boil and heat until the sugar and salt have dissolved.
-
Add the beets and cook in the brine for 5 minutes.
Canning the Pickled Beets
-
Using a canning funnel, carefully add hot beets to prepared jars.
-
Ladle in the hot brine, leaving 1/2 inch of headspace.
-
Using a long utensil (I prefer a plastic chopstick), remove air bubbles from the jar.
-
Clean the rim of the jar very well with a hot damp rag. Any food debris left on the rim may impact the seal of the lid in the canner.
-
Place a clean lid on the jar. Add a ring, and tighten it to fingertip tight.
-
Using canning tongs, gently place the jars in the canner. Lock the lid. Soon, steam will start coming through the vent pipe.
-
Allow the steam to pass through for about 10 minutes. Then put the pressure regulator on top.
-
Pretty soon, the air vent will pop up.
-
In a dial-gauge pressure canner, process pints and quarts based on the elevation guide below (see processing chart in post for additional altitude adjustments):*0-2,000f ft {PSI: 11 lbs of pressure} = Pints 30 min, Quarts 35 min*2,001-4,000k ft {PSI: 12 lbs of pressure} = Pints 30 min, Quarts 35 min*4,001-6,000k ft {PSI 13 lbs of pressure} = Pints 30 min, Quarts 35 min*6,001-8,000k {PSI 14 lbs of pressure} = Pints 30 min, Quarts 35 min
-
When the dial gauge reaches the appropriate PSI, reduce the burner temp to medium, and start your timer. The pressure must stay at the PSI or (a little bit) above for the duration of the cooking time.
-
When the time is up, remove the canner from the burner and allow it to sit until you hear a distinctive “click” of the air vent dropping. Remove the pressure regulator and carefully remove the lid of the canner (Pro tip: use oven mitts to take the lid off because the steam is super hot).
-
Let the jars sit for 5 minutes in the canner and then lift them out with canning tongs
-
Place on a thick clean towel undisturbed for 12 hours.
-
After a few hours, to check for sealing, gently press down in the middle of the lid. If the lid has no give, it’s sealed. If you can press the lid in and it pops a bit, your jars are not sealed.
- Store in a cool dark place for 12-18 months.
- For seven quarts, you’ll need ~21 pounds. For nine pints, you’ll need ~14 pounds.
Get my Canning e-book!
It’s 51 pages of every helpful tip and trick you could want as a brand new canner, AND it includes 13 ad-free canning recipes that are designed to take you from novice to pro.

